Build Desktop Apps: From Dialogue to Application
This article focuses on the core scenarios of desktop application development and breaks down the complete operation process step by step: starting from natural language requirement description, it covers application generation and deployment all the way to normal local use. Even non-technical users with zero foundation can quickly customize exclusive local desktop tools.
I. Preparation: Clarify the Application Purpose
Before starting a dialogue, clarify your requirements from three aspects:
- Core Purpose: What problem does it solve? (e.g., desktop countdown, batch file organization, simple data statistics)
- Core Functions: List 3–5 essential features (e.g., countdown: duration setting, reminder pop-up, pause/reset).
- Usage Scenarios: Briefly describe when you will use it.
Plain language works. KroWork accurately identifies key requirements from natural language.
II. Core Process: 4 Steps to Generate Apps via Dialogue
The entire process is dialogue-driven, with real-time progress tracking and flexible adjustments.
Step 1: Initiate Dialogue and Describe Requirements Clearly
Describe your desired desktop app in detail in the input box — the more detailed, the better.
Example Requirement:
"Create a local desktop Pomodoro app with 25-minute focus/5-minute break, reminder pop-up, pause/reset, simple floating interface."
After sending, KroWork confirms the requirement, breaks it down, and displays a progress list.
Step 2: AI Breaks Down Tasks and Drives Development
KroWork automatically decomposes the requirement into subtasks and uses built-in skills to proceed. Real-time progress is shown; send modification instructions directly in the dialogue if needed.
Step 3: Preview and Test
After preliminary development, click "Allow" on the preview prompt to check the app's interface and functions. Test core features and send modifications if needed until it meets expectations.
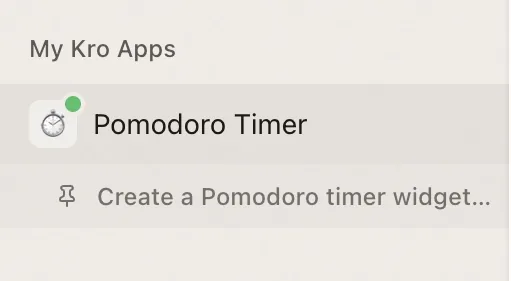
After you confirm the app meets your expectations, follow the system prompts to deploy this Kro App to the "My Kro Apps" panel.
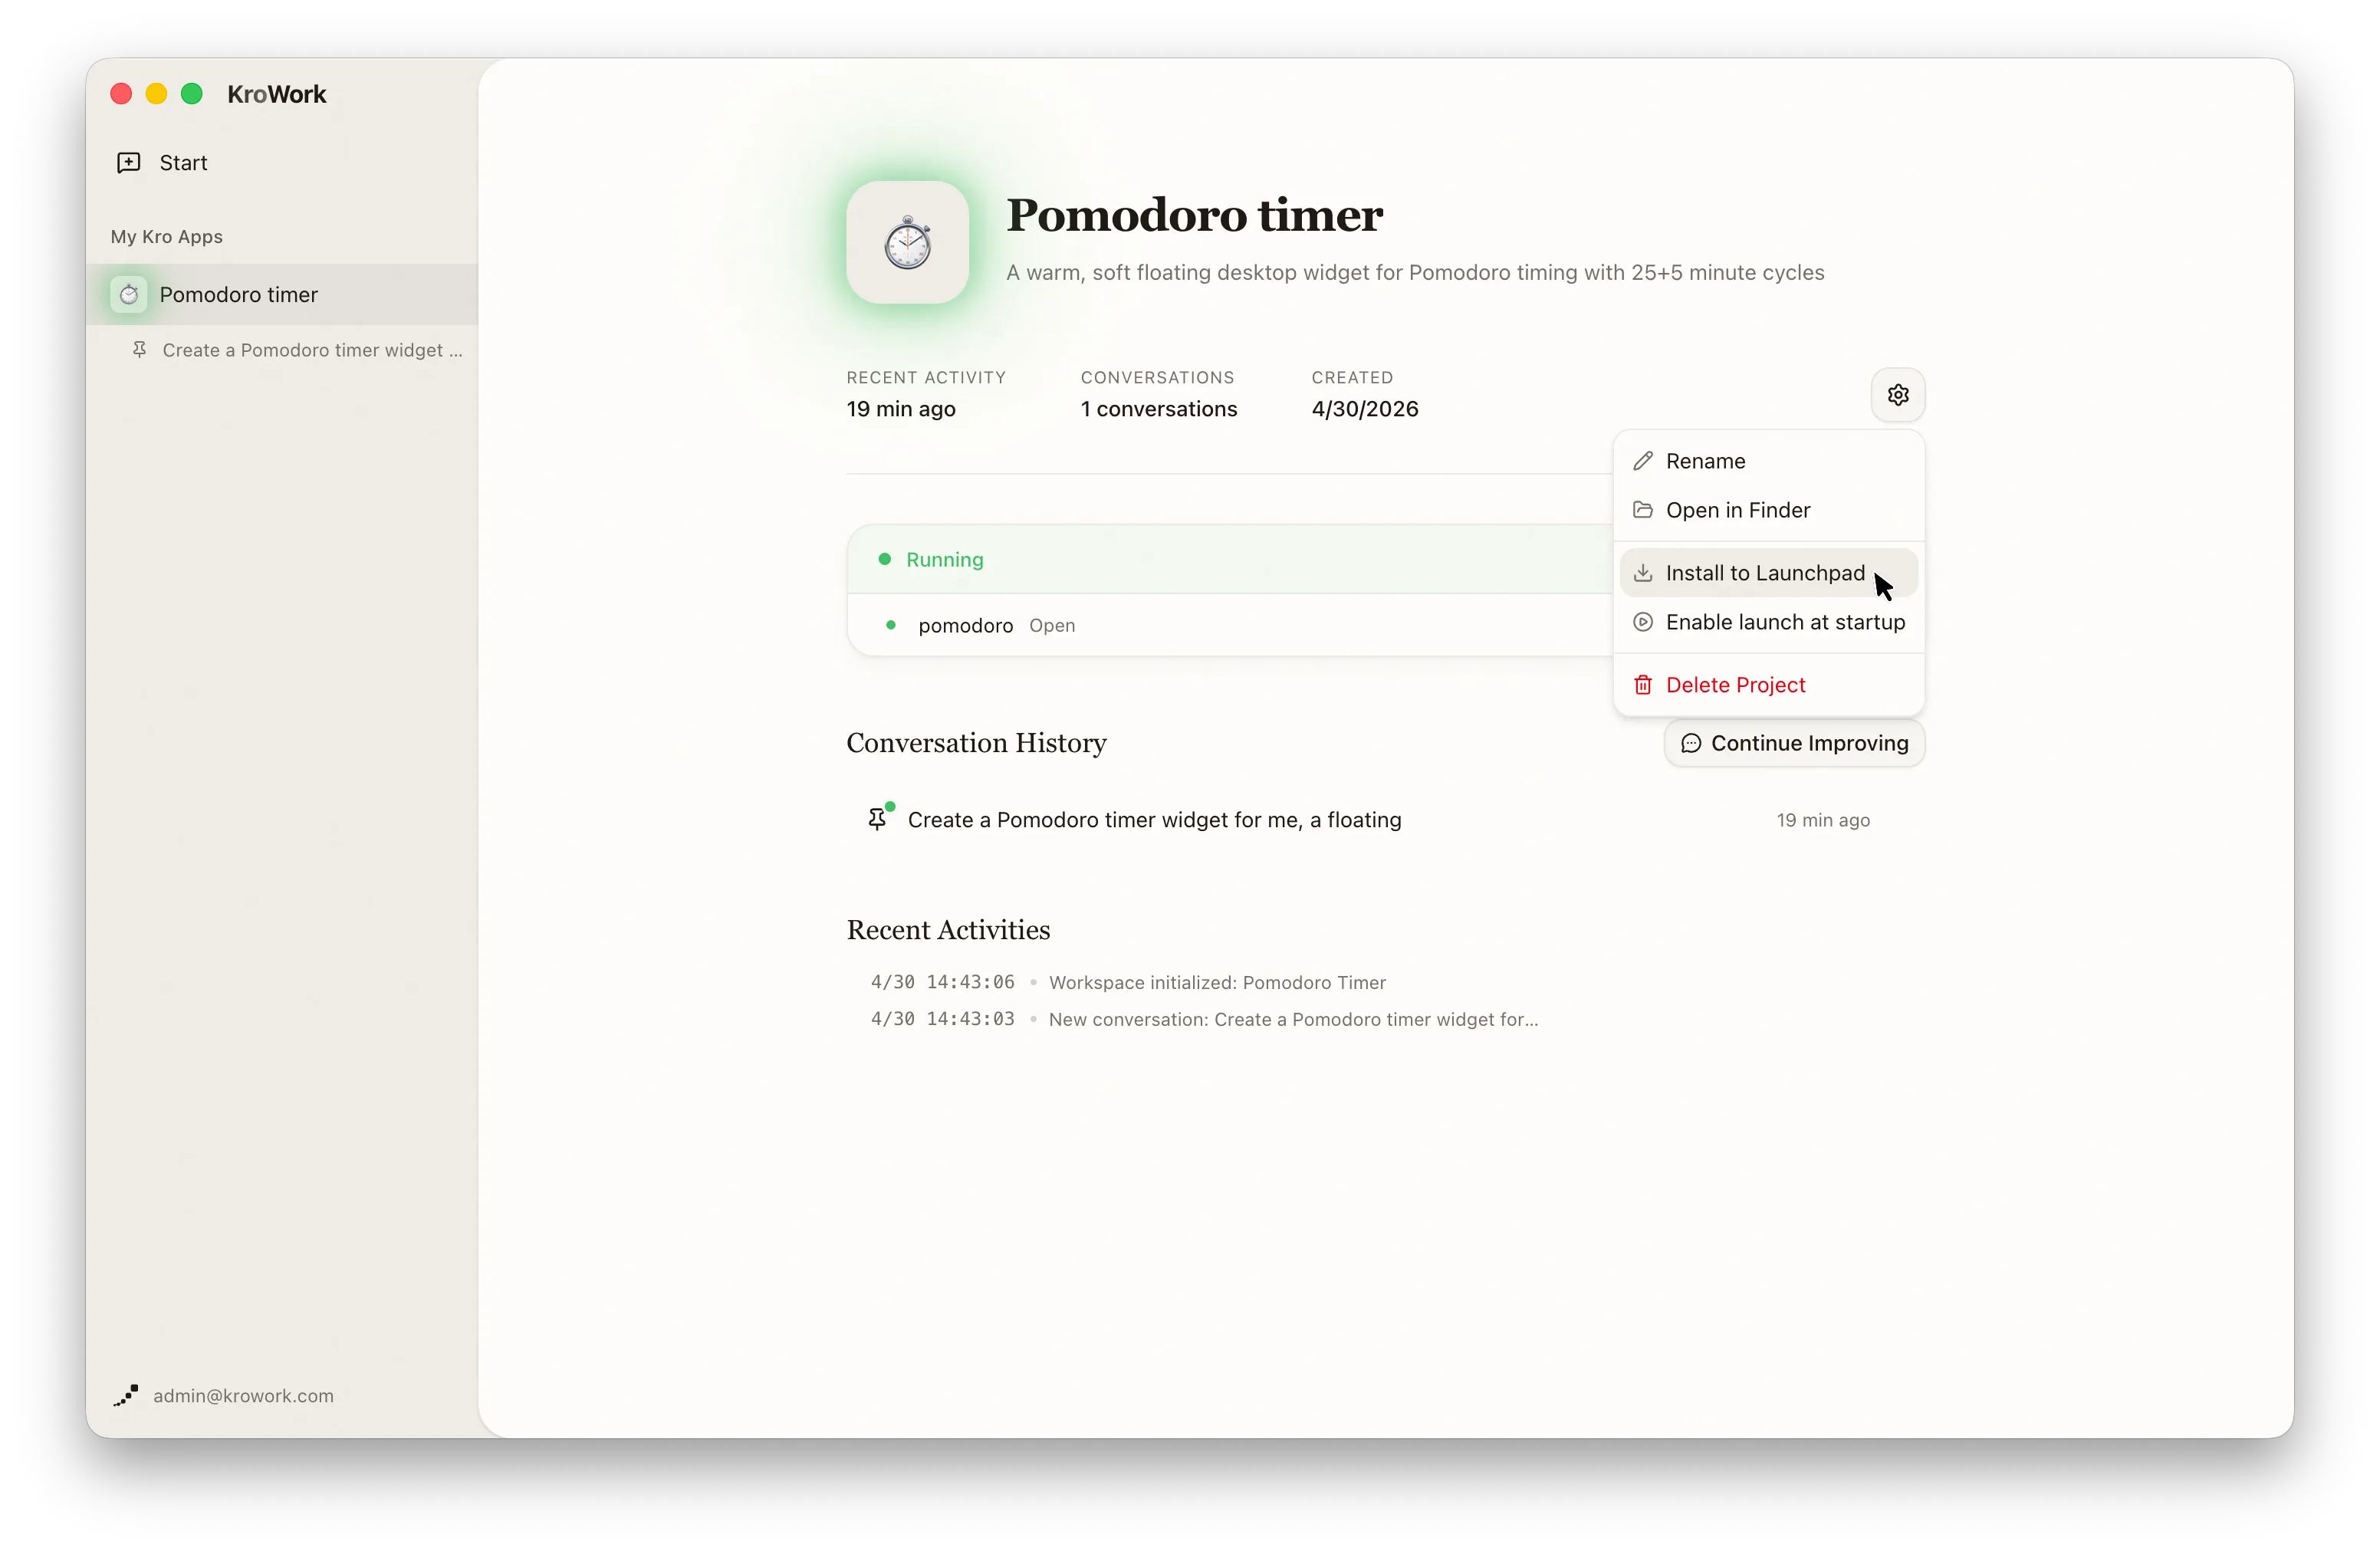
III. Application Management: Optimization and Reuse
1. Rename
Rename your Kro App here for easier identification and management.
2. Open in Finder
Click to quickly locate the local installation folder of your Kro App for file access and management.
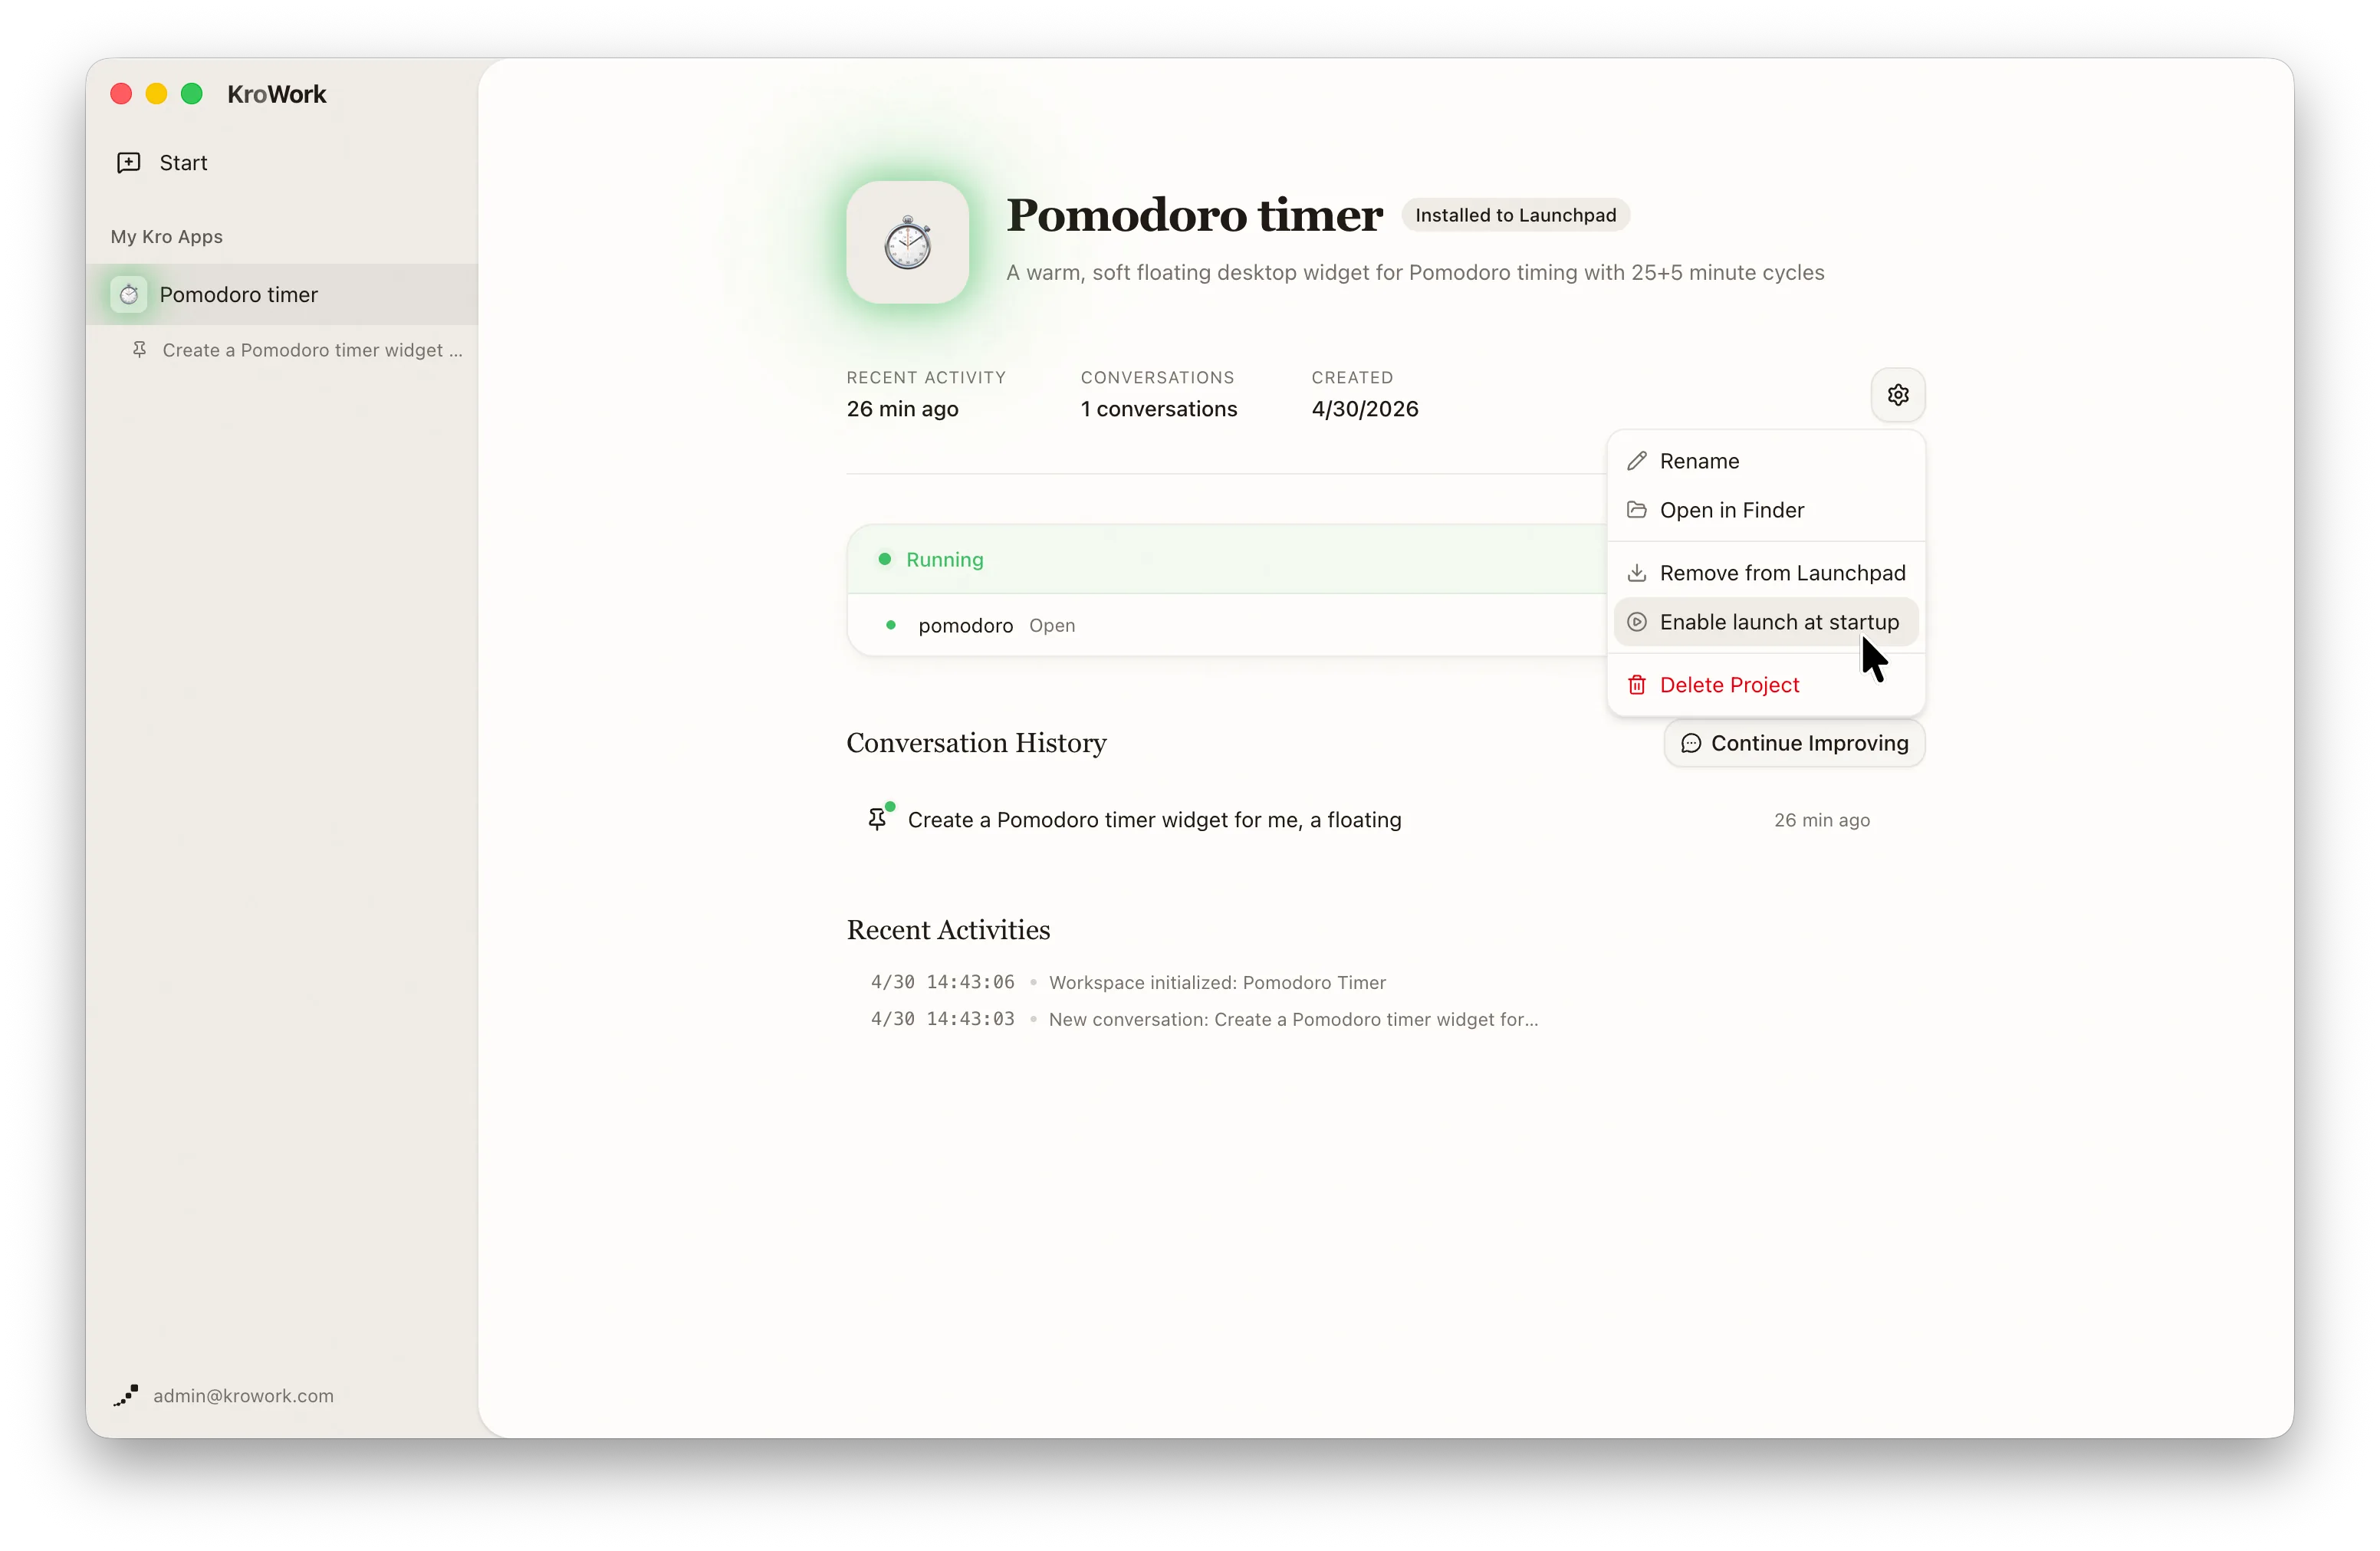
3. Install to Launchpad
Save frequently used Apps as independent local Kro Apps. Run your Kro App from your Launchpad (macOS) / Start Menu (Windows).
4. Auto-Launch
Select "Enable launch at startup" to let the app run automatically when the system boots.
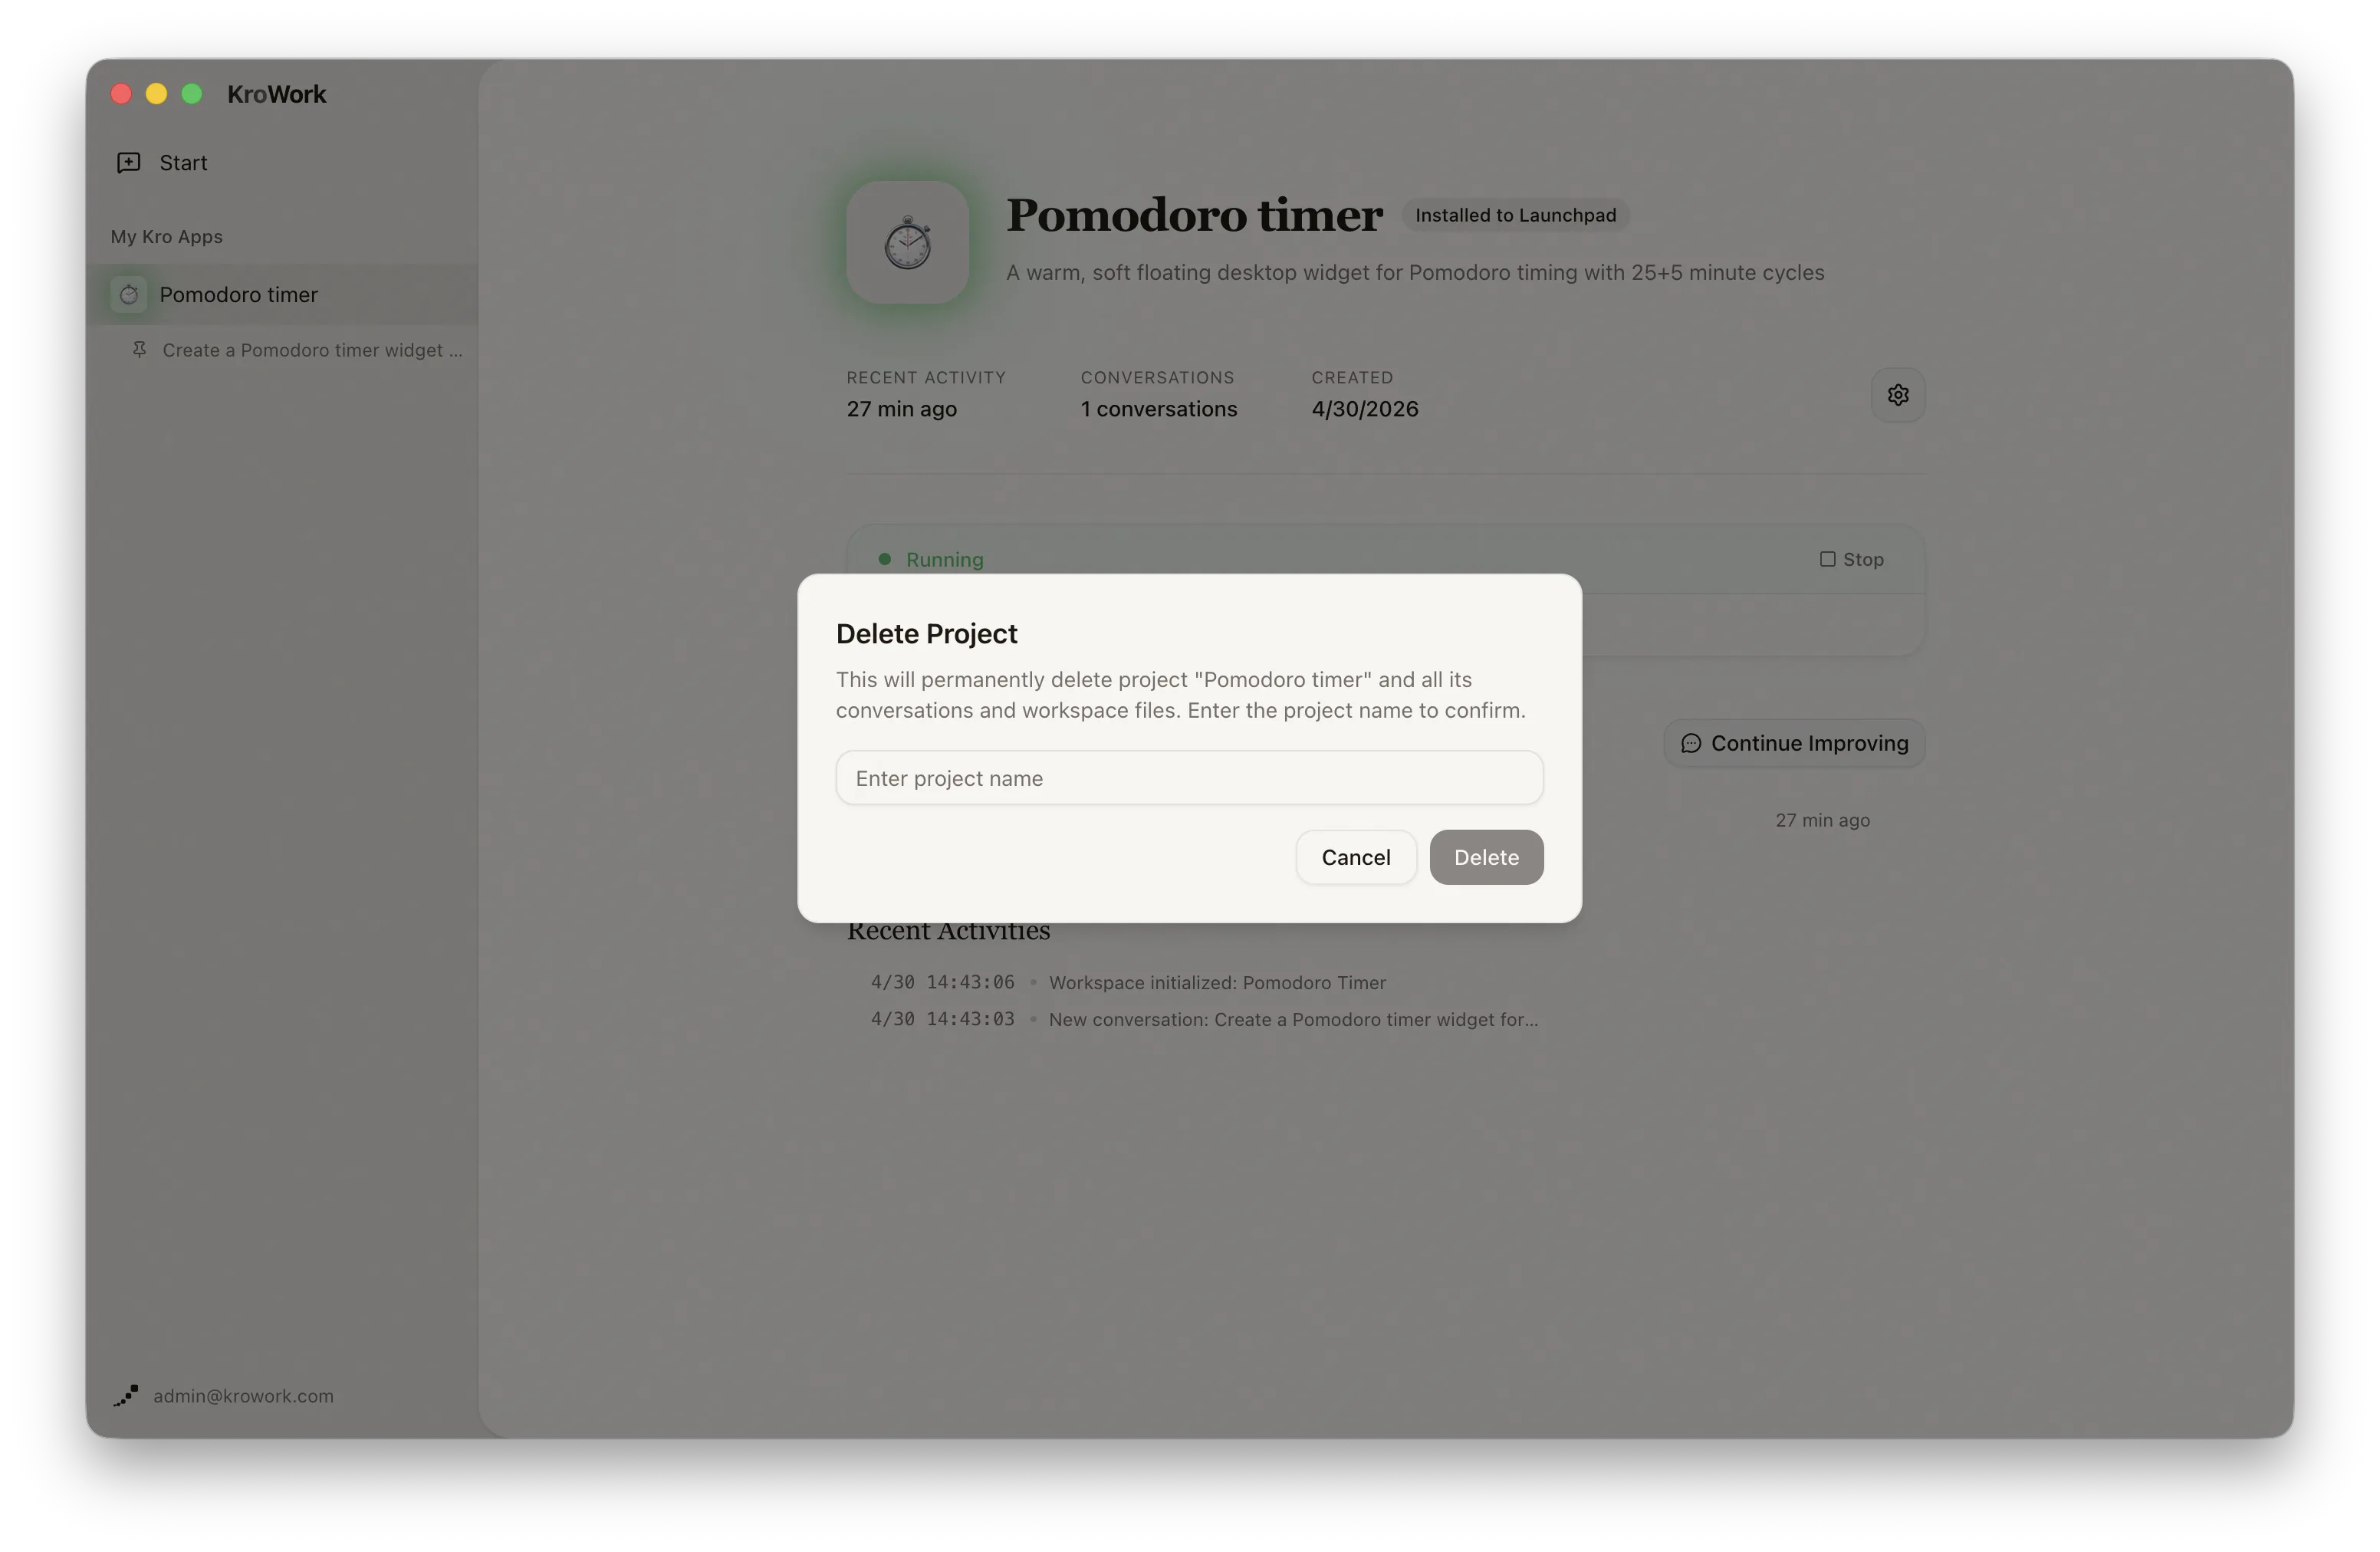
5. Delete Project
Delete the current project here to remove all related configurations and files.
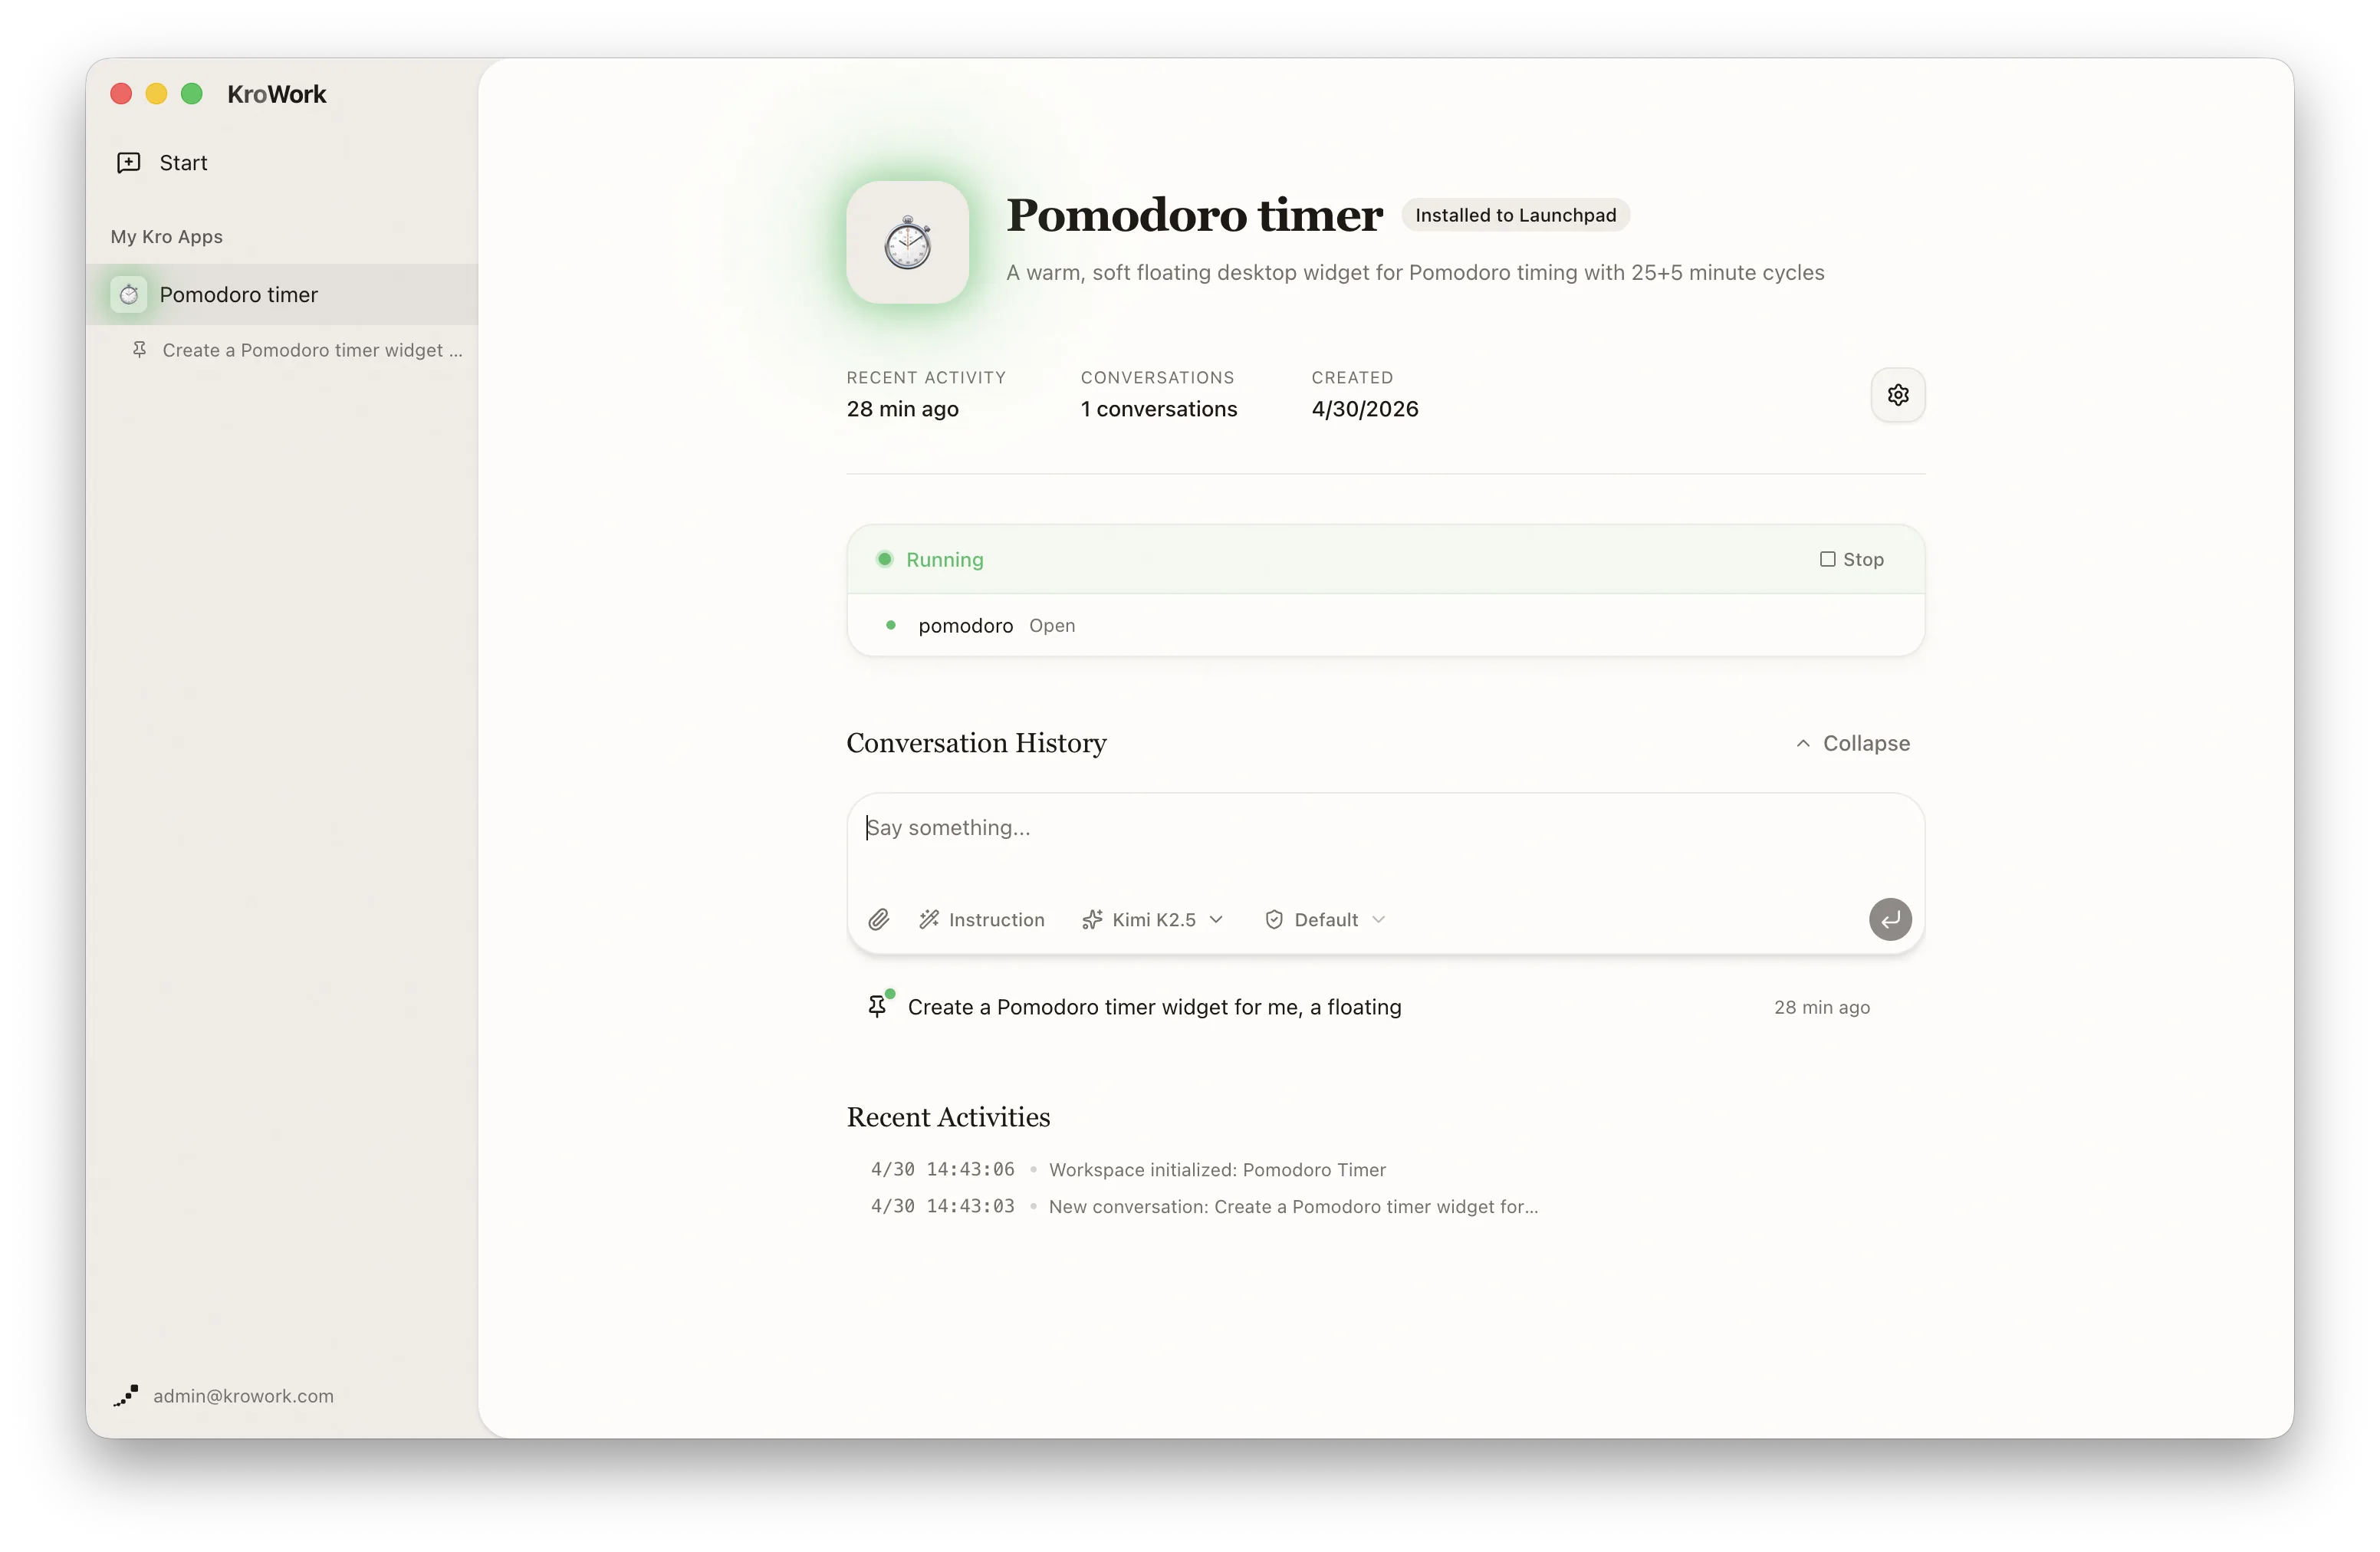
6. Modification & Iteration
You can start new conversations within this dashboard by clicking the "Continue Improving" button to continuously iterate and optimize it. The dashboard will automatically record your improvement history and related logs for easy review and further development.
IV. Common Issues & Notes
- Requirements: Be specific (avoid vague phrases like "a useful tool") to reduce adjustments.
- Development lag: If development lags, enter "Check development progress" to resume — no restart needed.
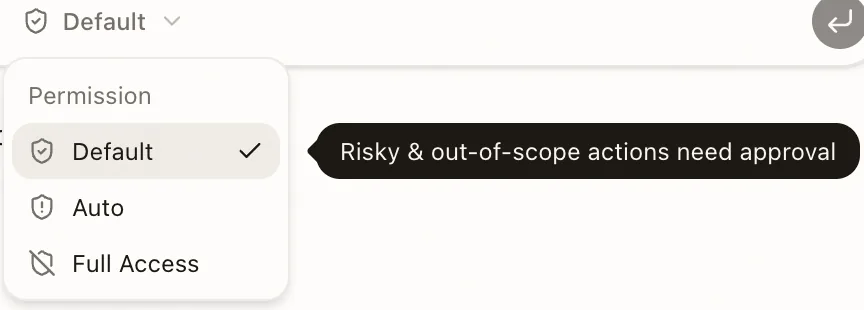
- Permissions: Grant required permissions in a timely manner during development and deployment, and select the appropriate permission mode as needed:
- Default: Dangerous or out-of-scope operations require approval
- Auto: AI automatically allows safe operations
- Full Access: All operations are allowed except destructive ones