Your First Task
I. Interface Overview
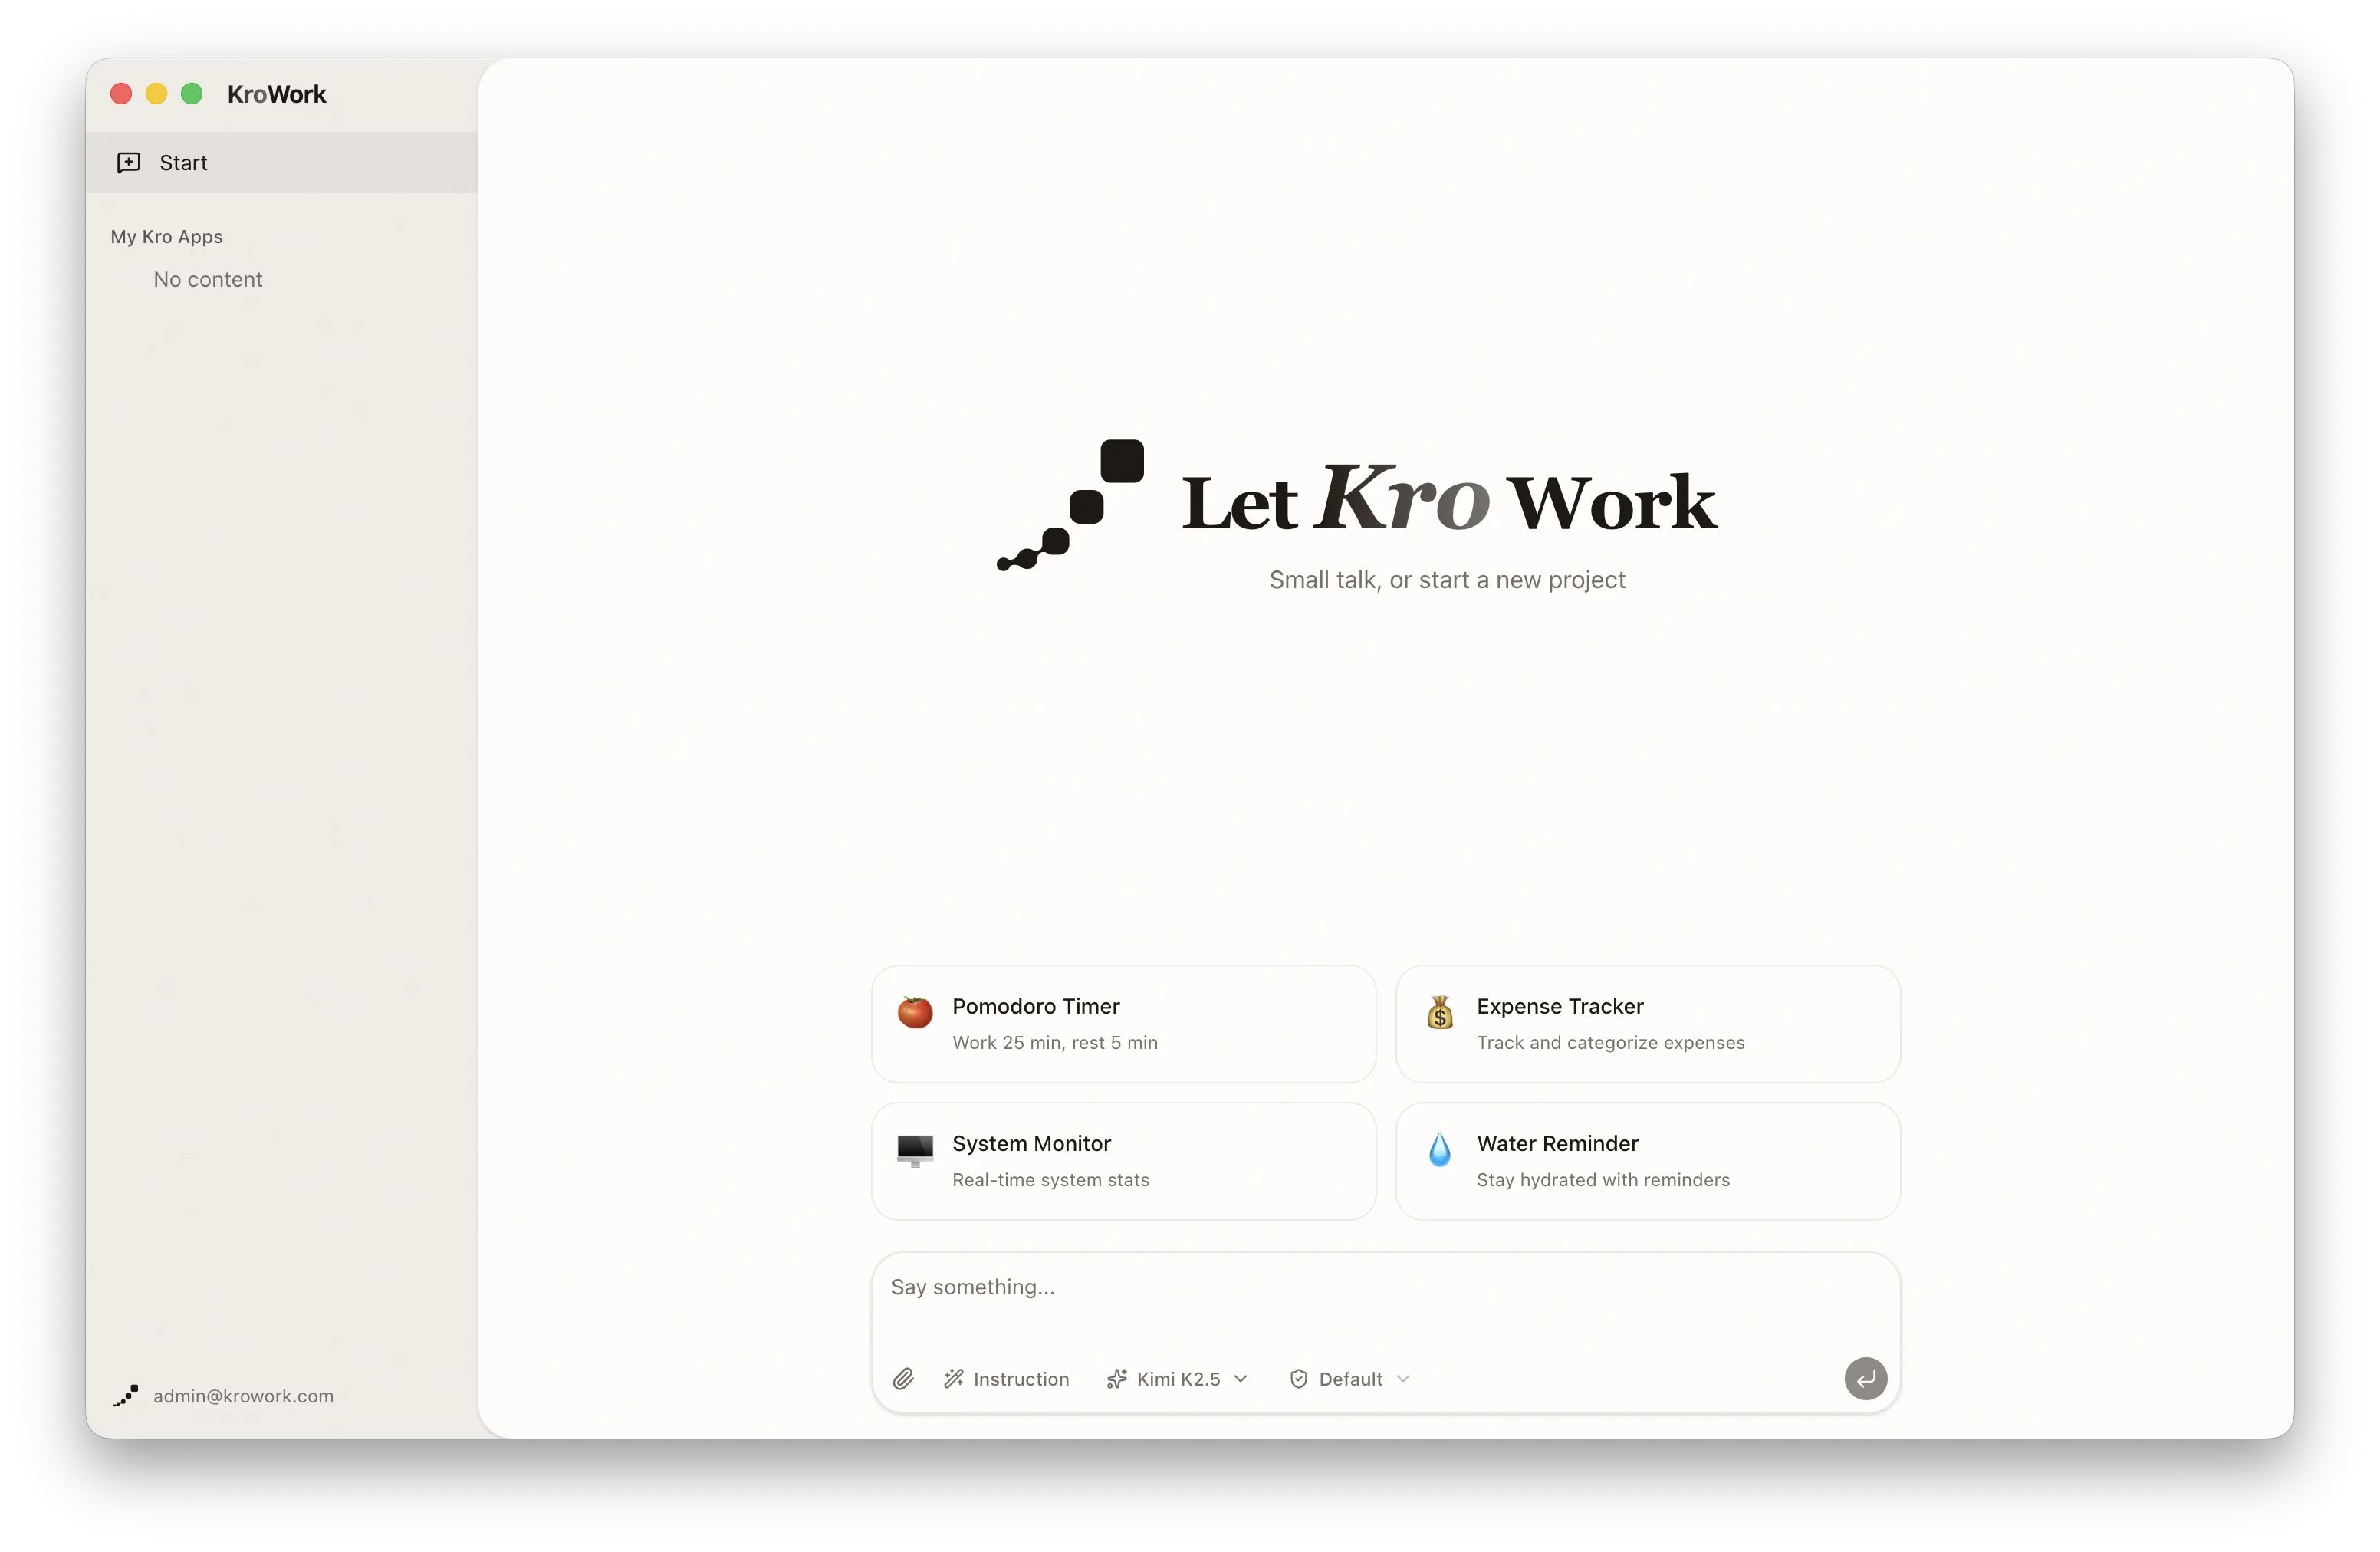
The main interface is divided into three core areas:
- Left Navigation Bar: Manages your projects and applications, including the "Start" button, "My Kro Apps" list, "My Drafts", as well as your current account information and settings.
- Central Main Area: The core area for conversations and application creation.
- Bottom Input Bar: Starting a conversation from the dialog box, uploading files and images, calling the command library, selecting models and permission approval modes, and quickly initiating tasks.
II. Launch Your First Task (macOS Example)
1. Select a recommended application for quick startup
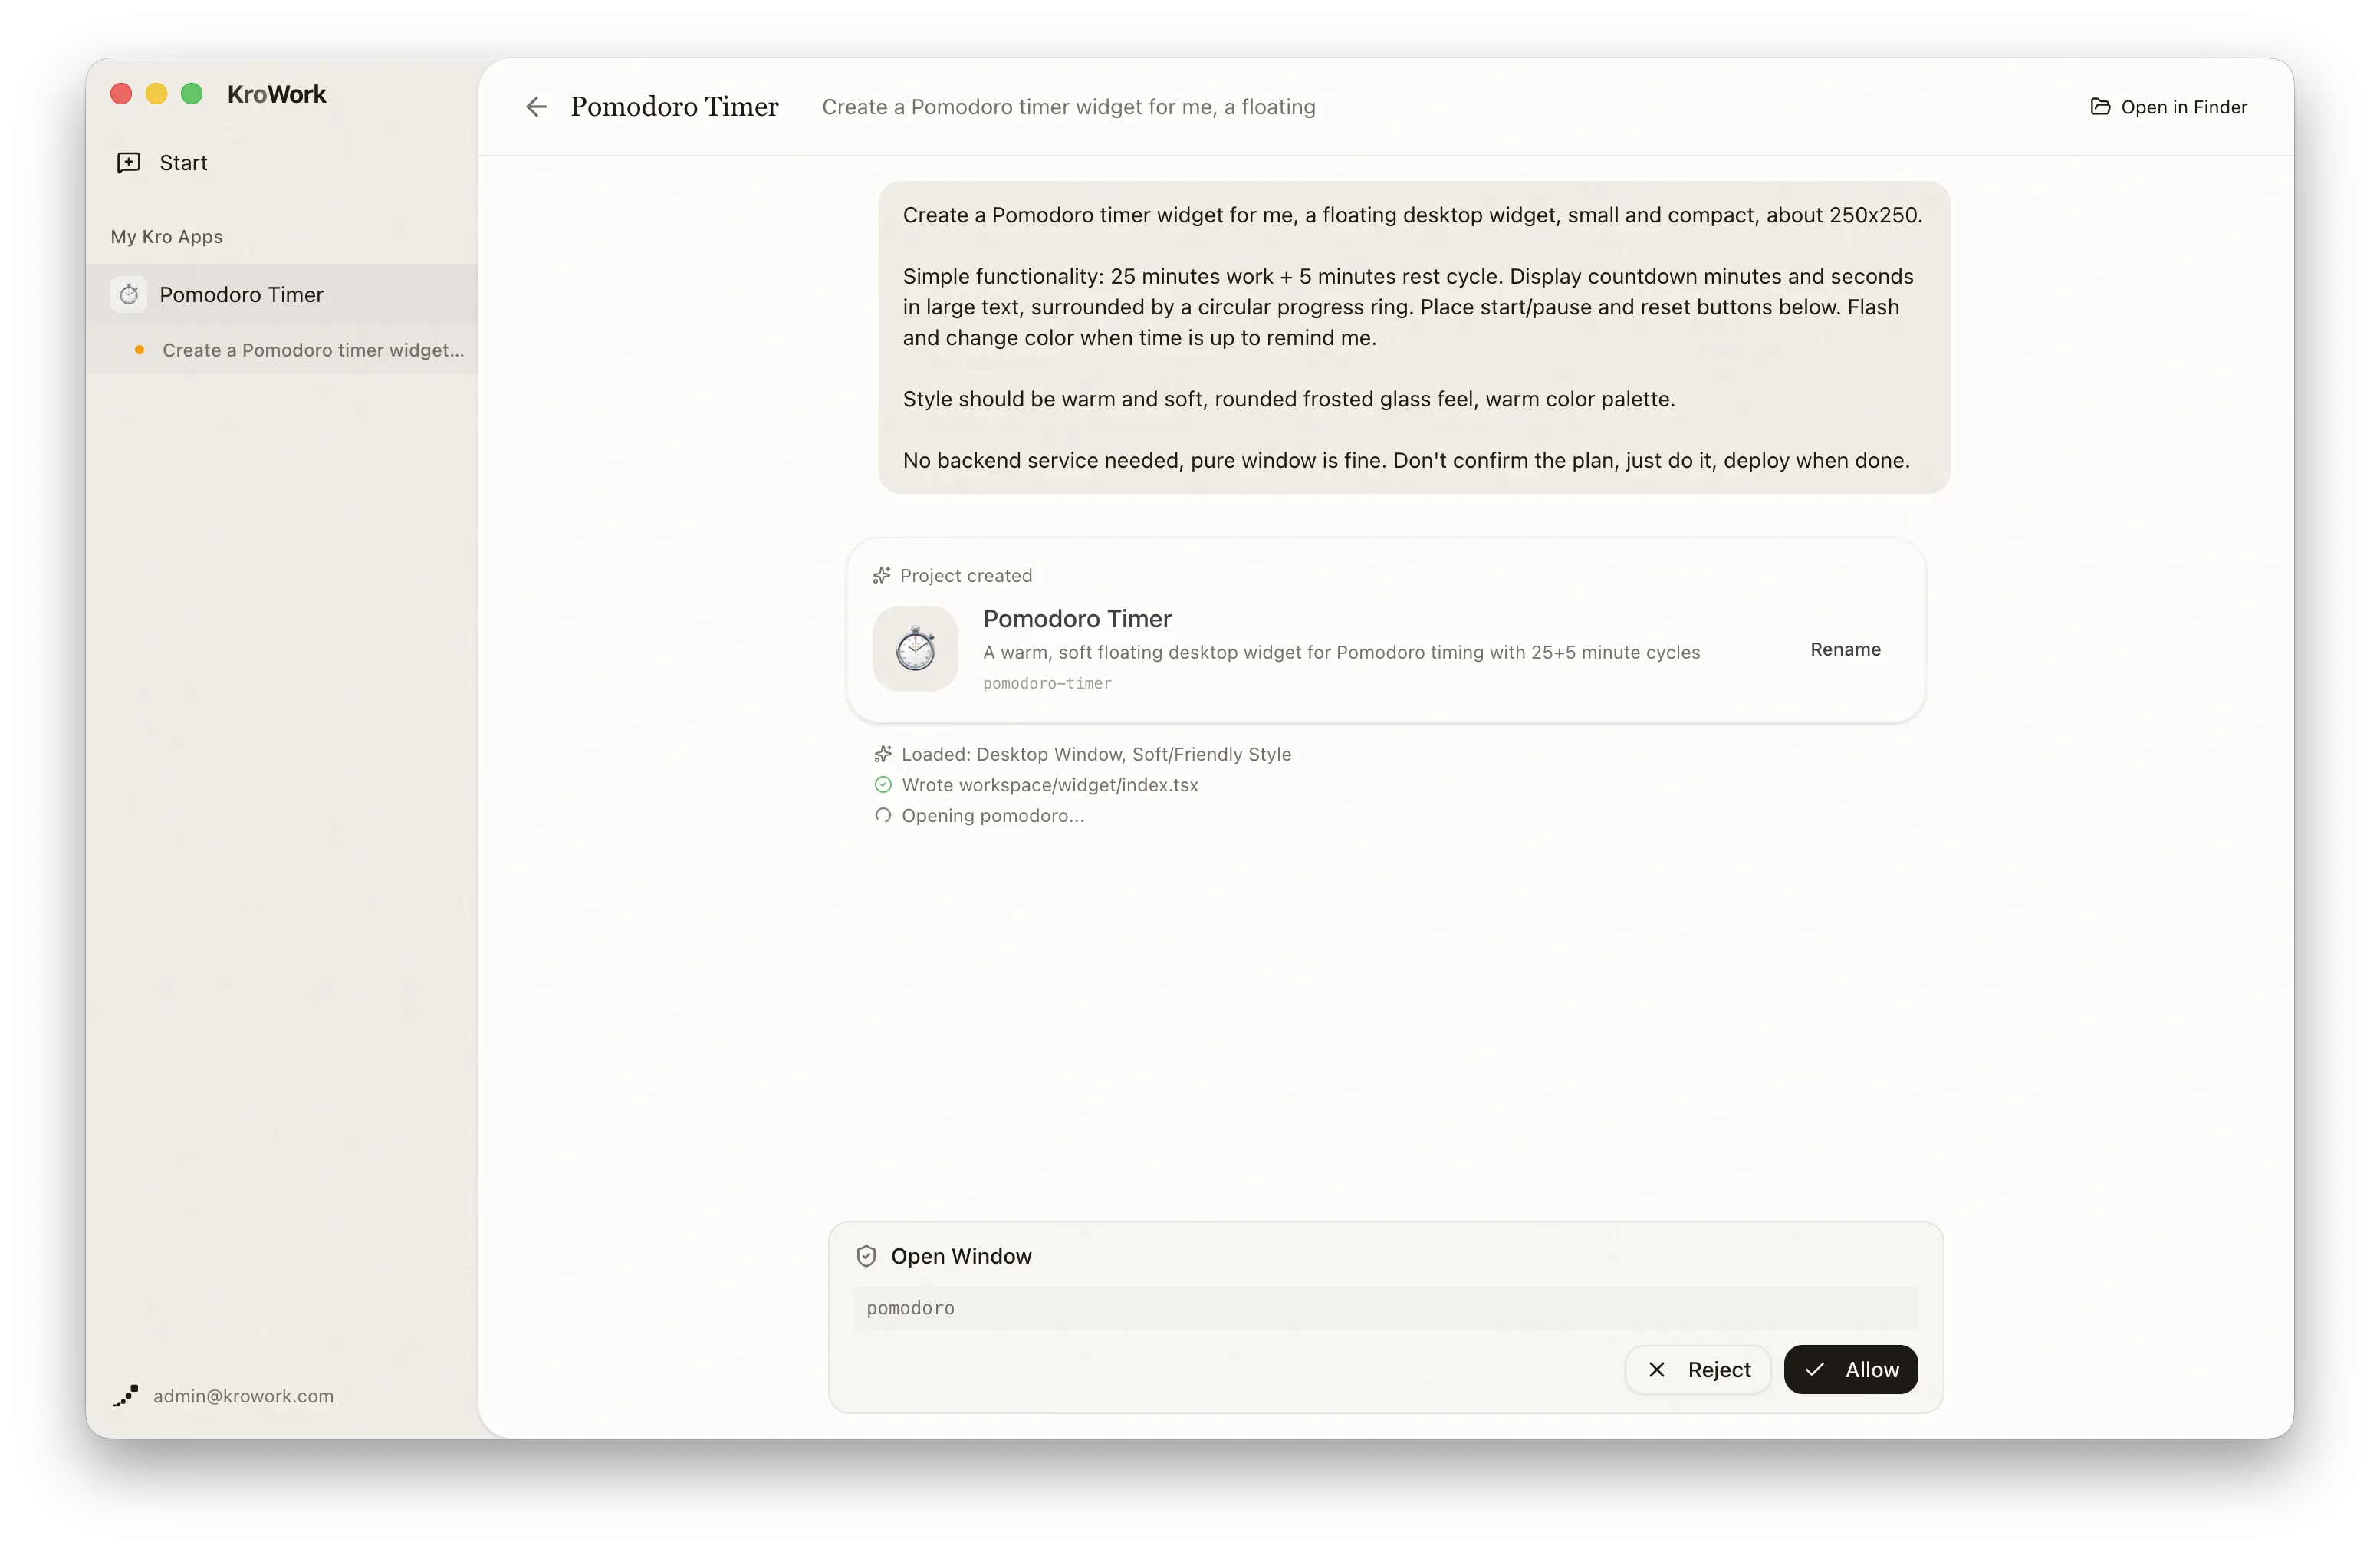
Click any recommended application on the interface (e.g., Pomodoro Widget). The system will automatically load an existing instruction template.
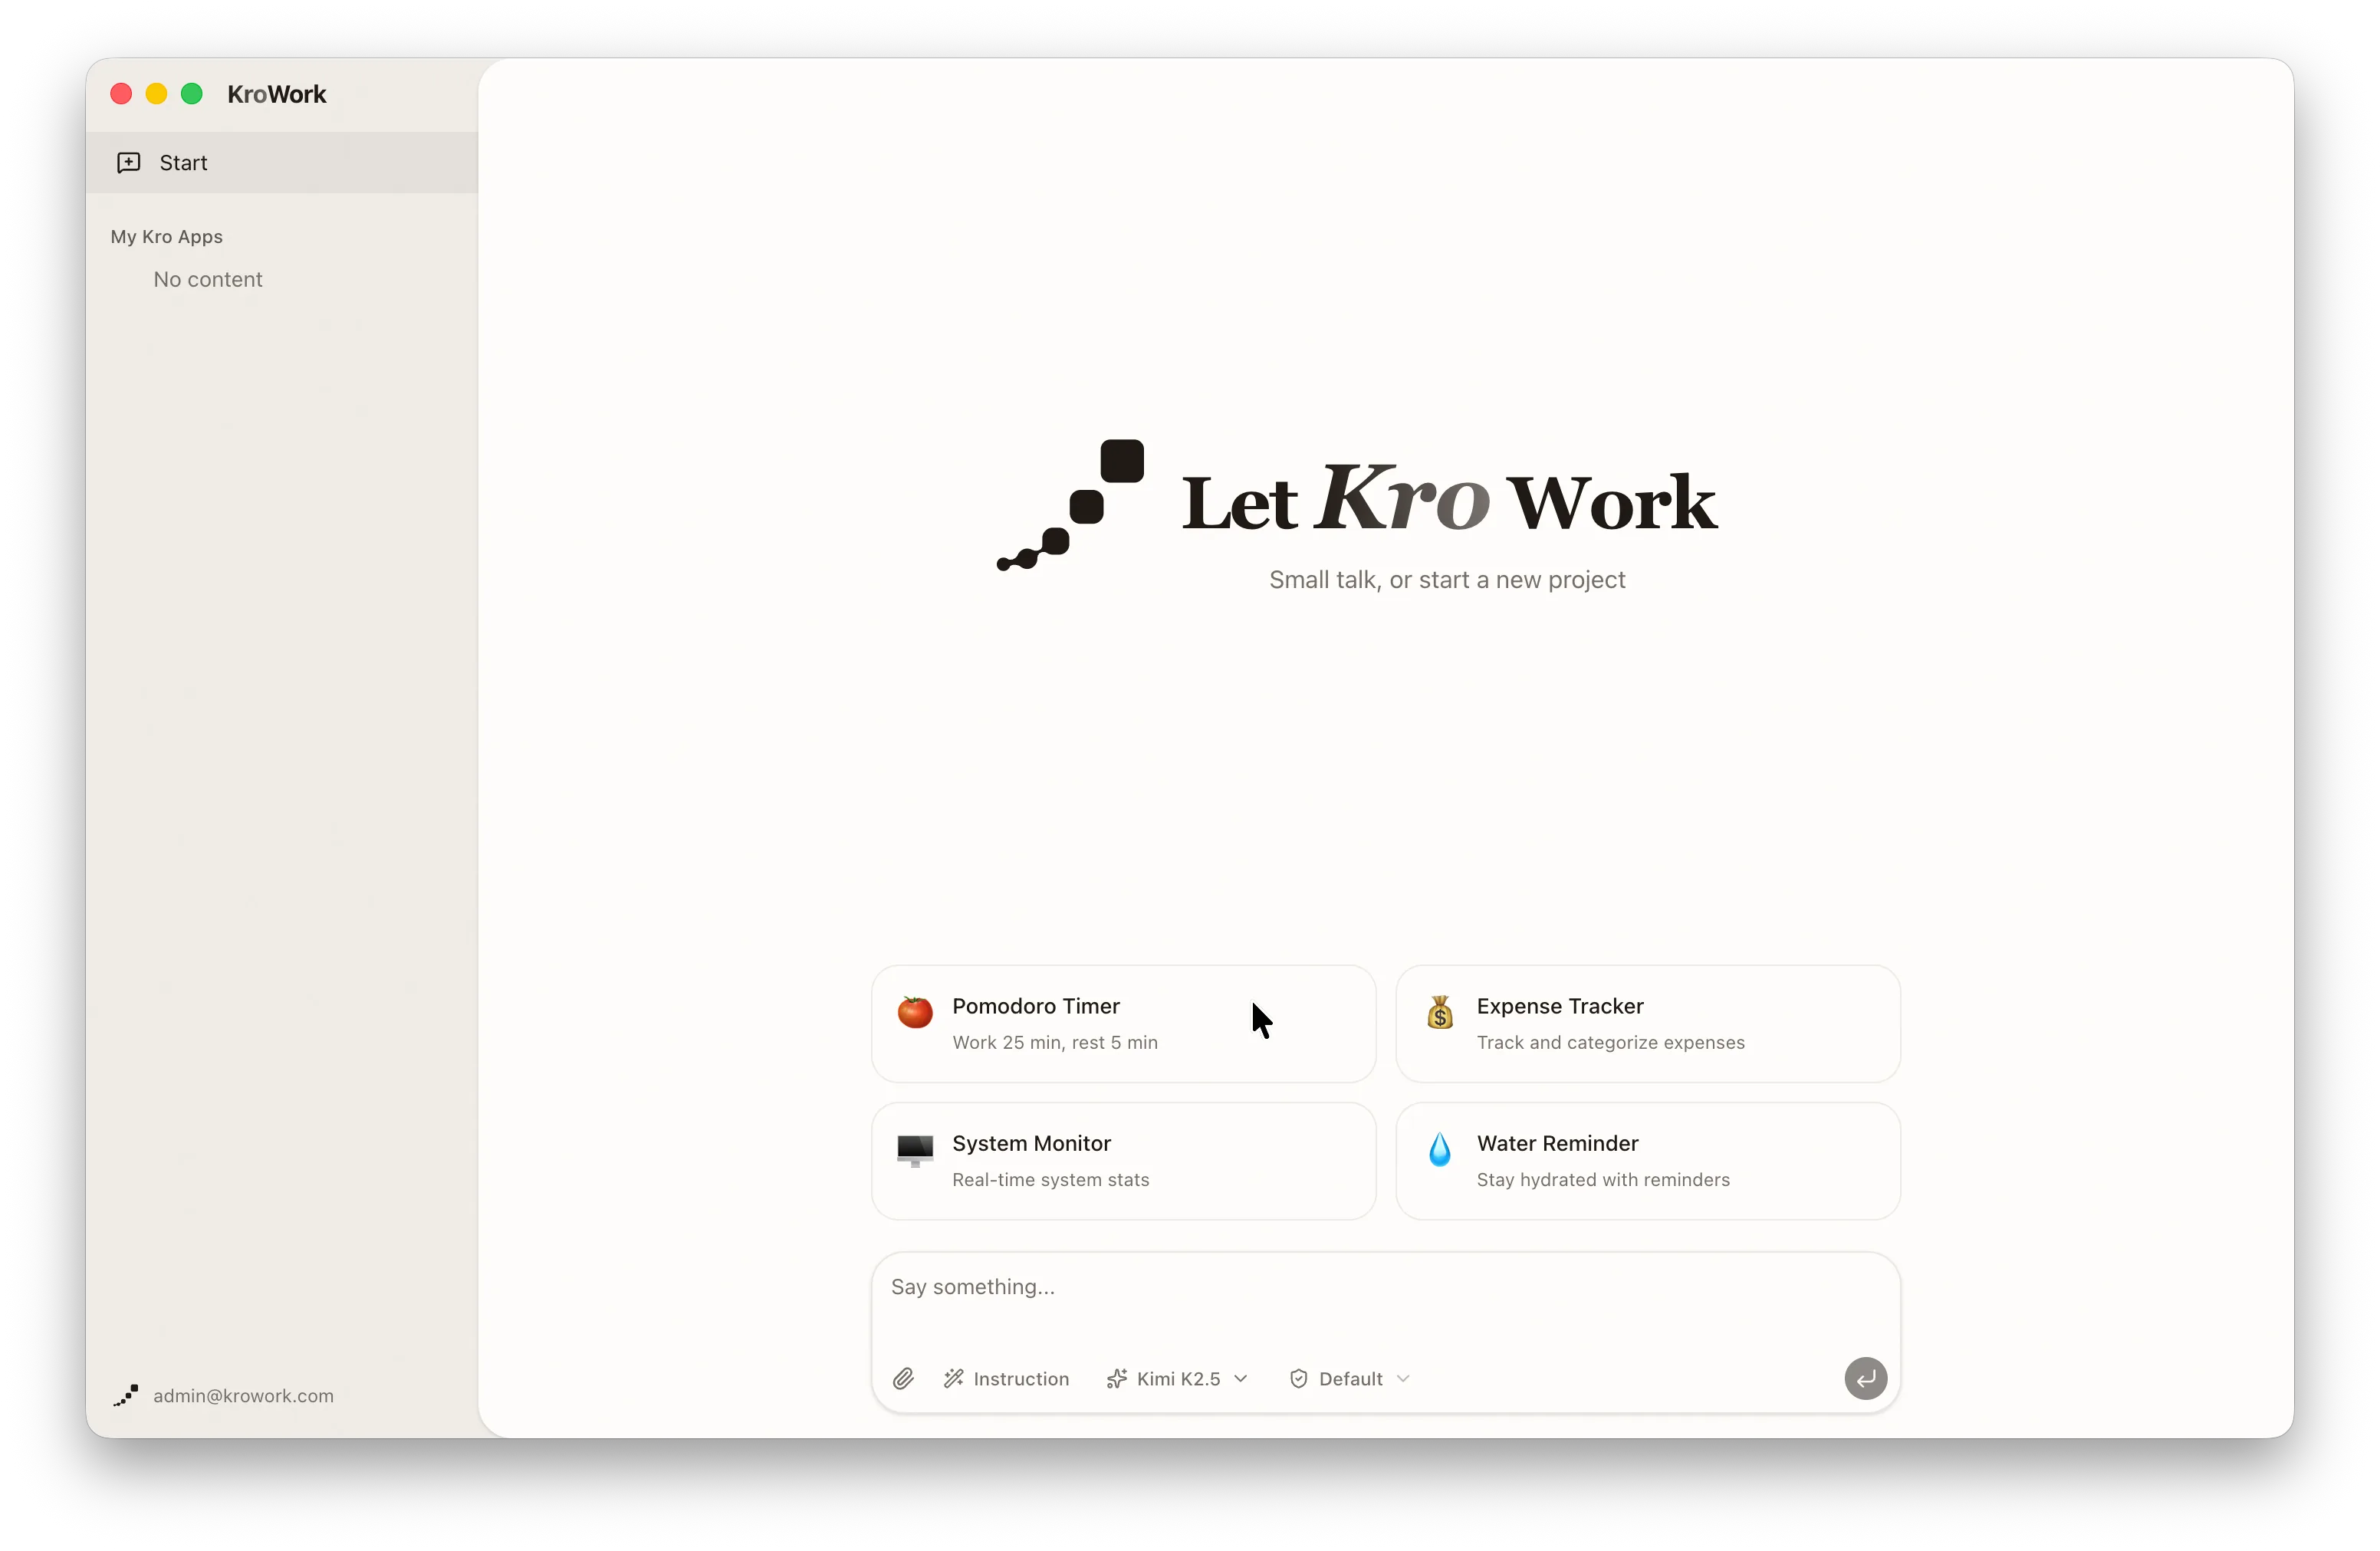
You can use the template directly or modify the instruction content as needed. Send the instruction after confirmation to start the task.
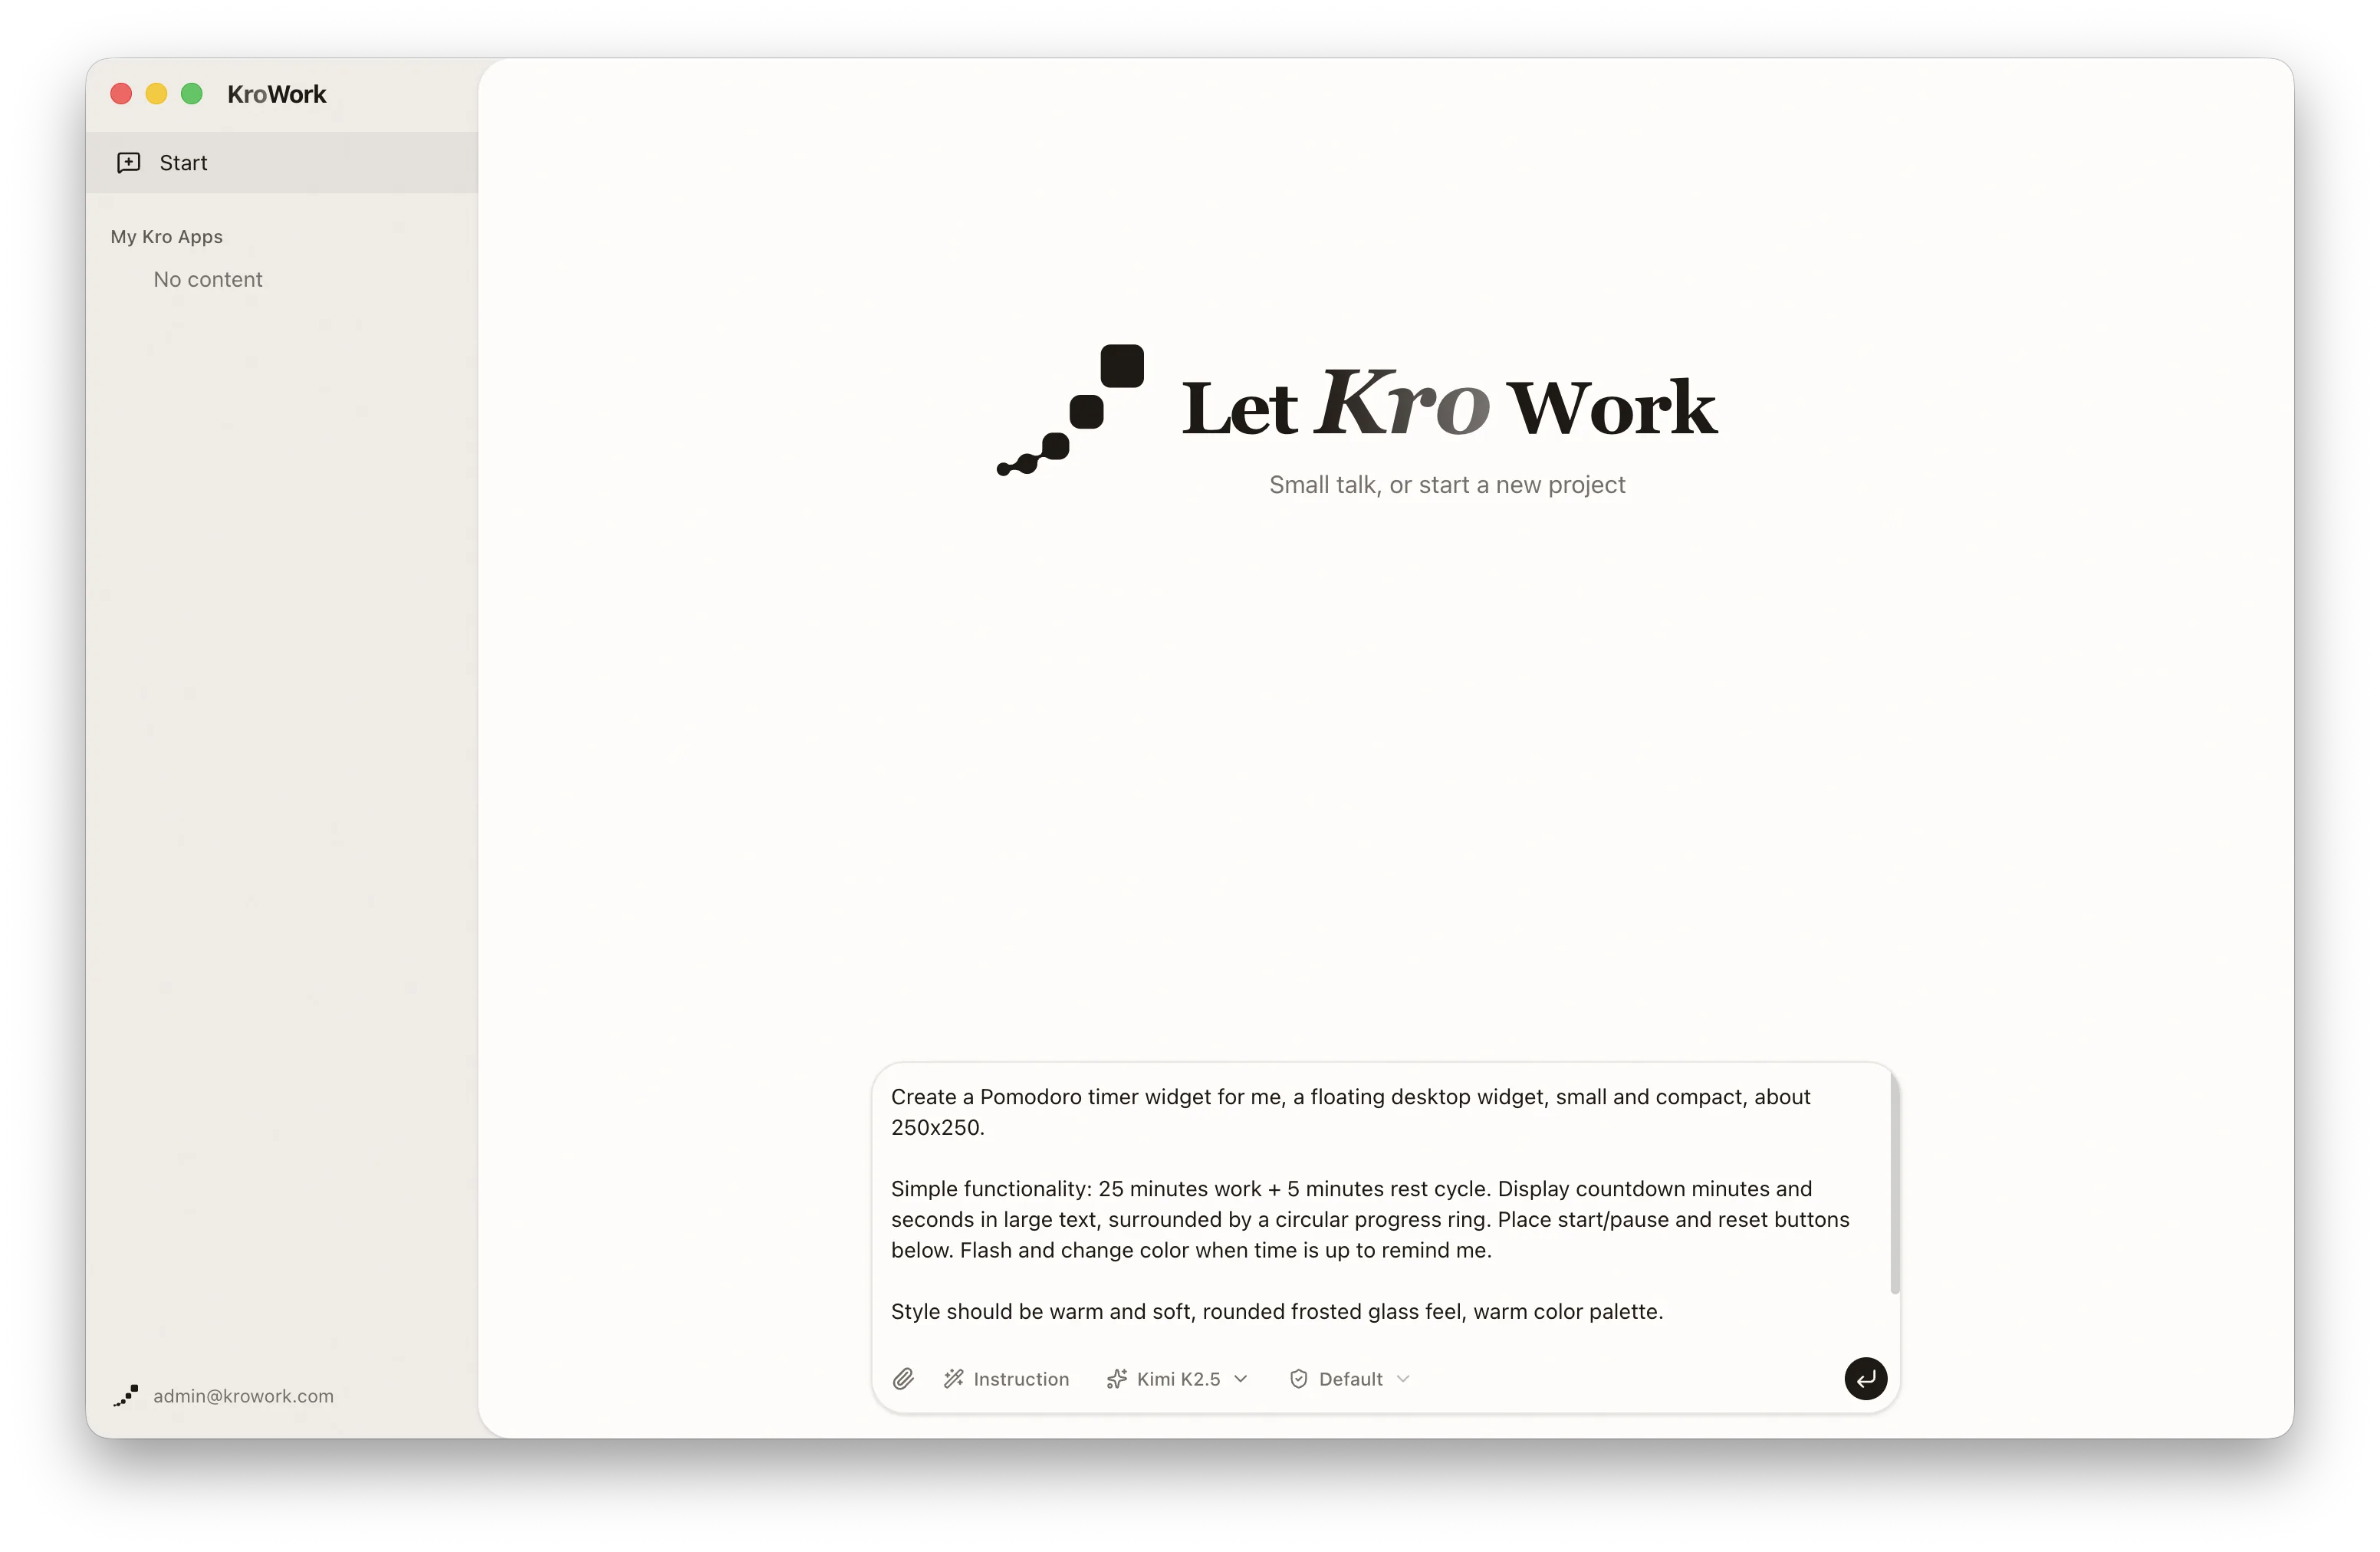
2. Task breakdown and progress tracking
KroWork automatically parses your instruction and breaks it down into executable subtasks. Progress is displayed in checklist format, making the task progress clear and controllable.
3. Preview and functional testing
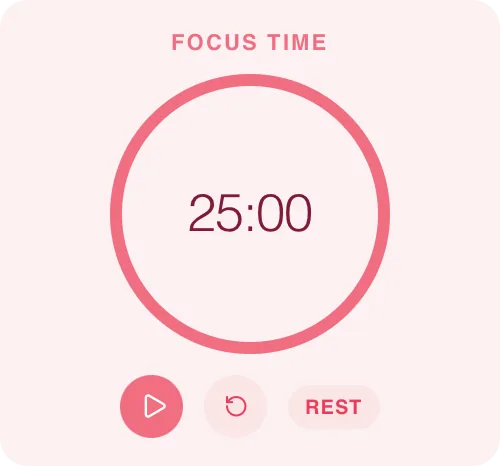
Once the application is created, the system will display a preview authorization option. Click "Allow" to view the generated application interface.
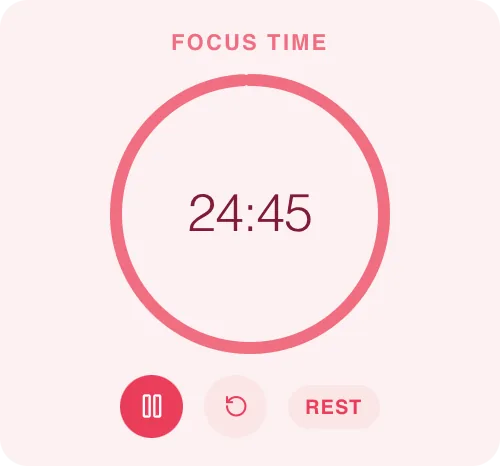
You can test the core functions directly in the preview interface to verify whether they meet your expected requirements.
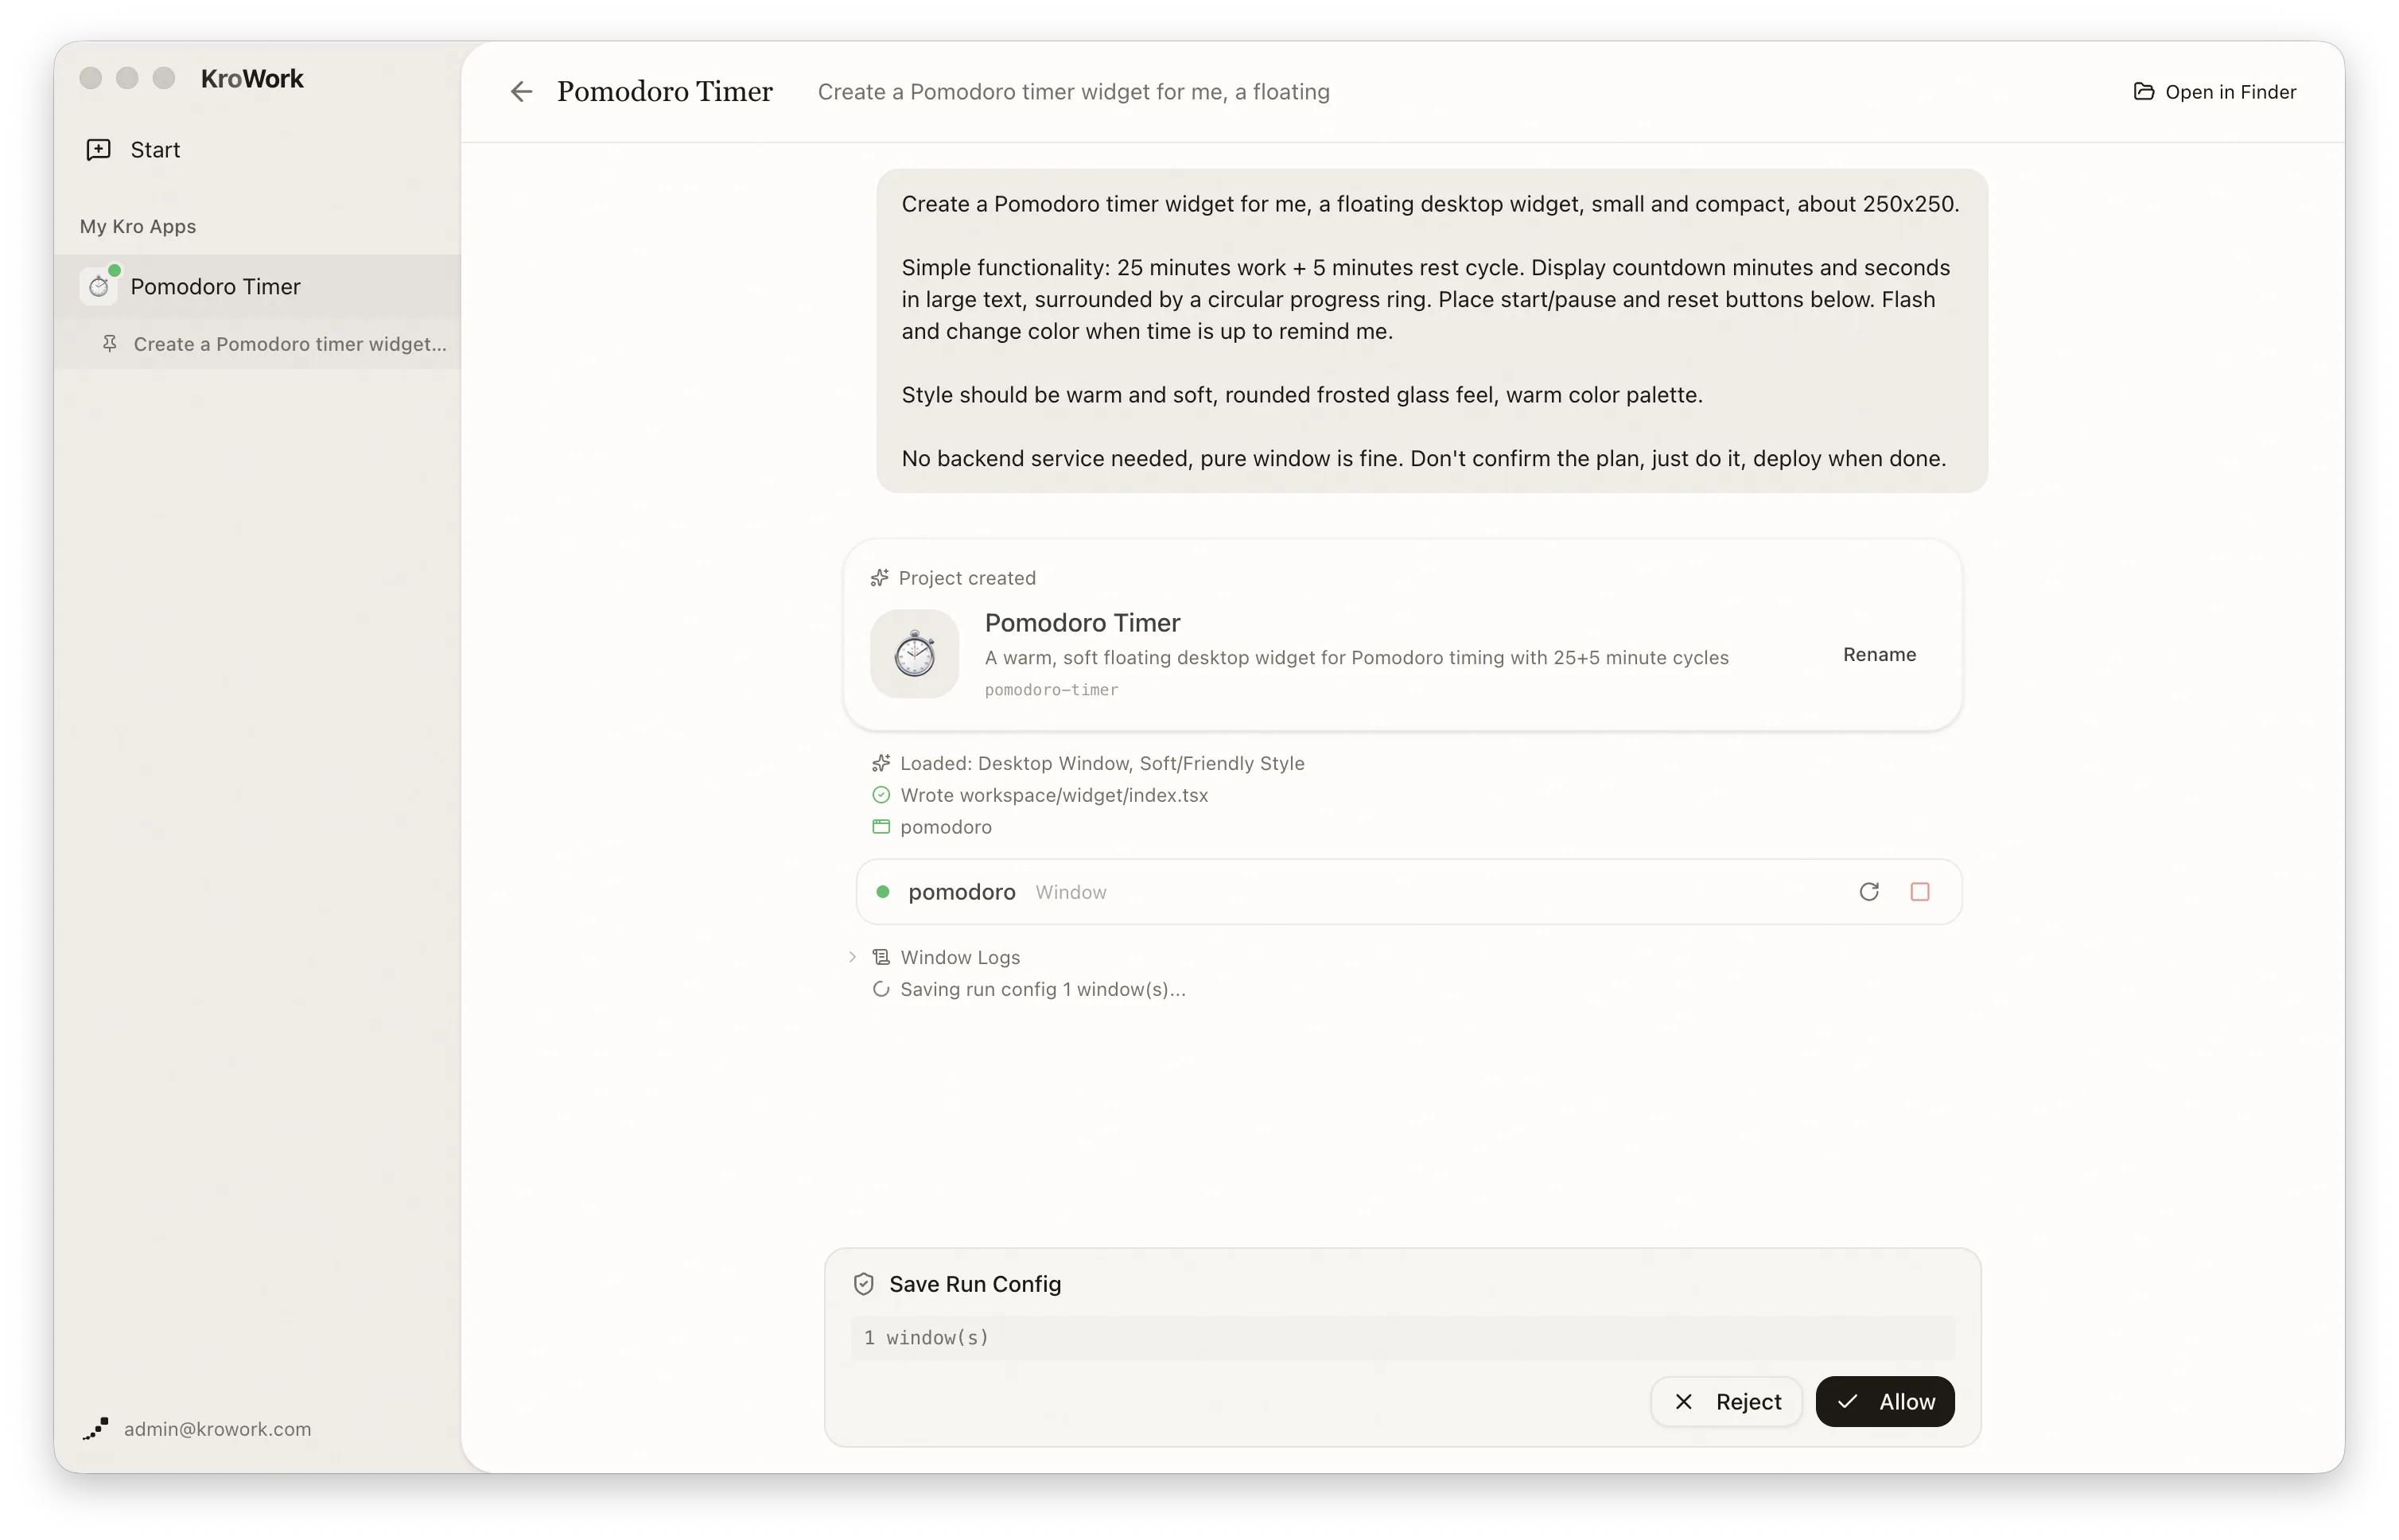
4. Kro Installation
After verification and confirmation, the system will save it as a Kro App in the "My Kro Apps" dashboard.
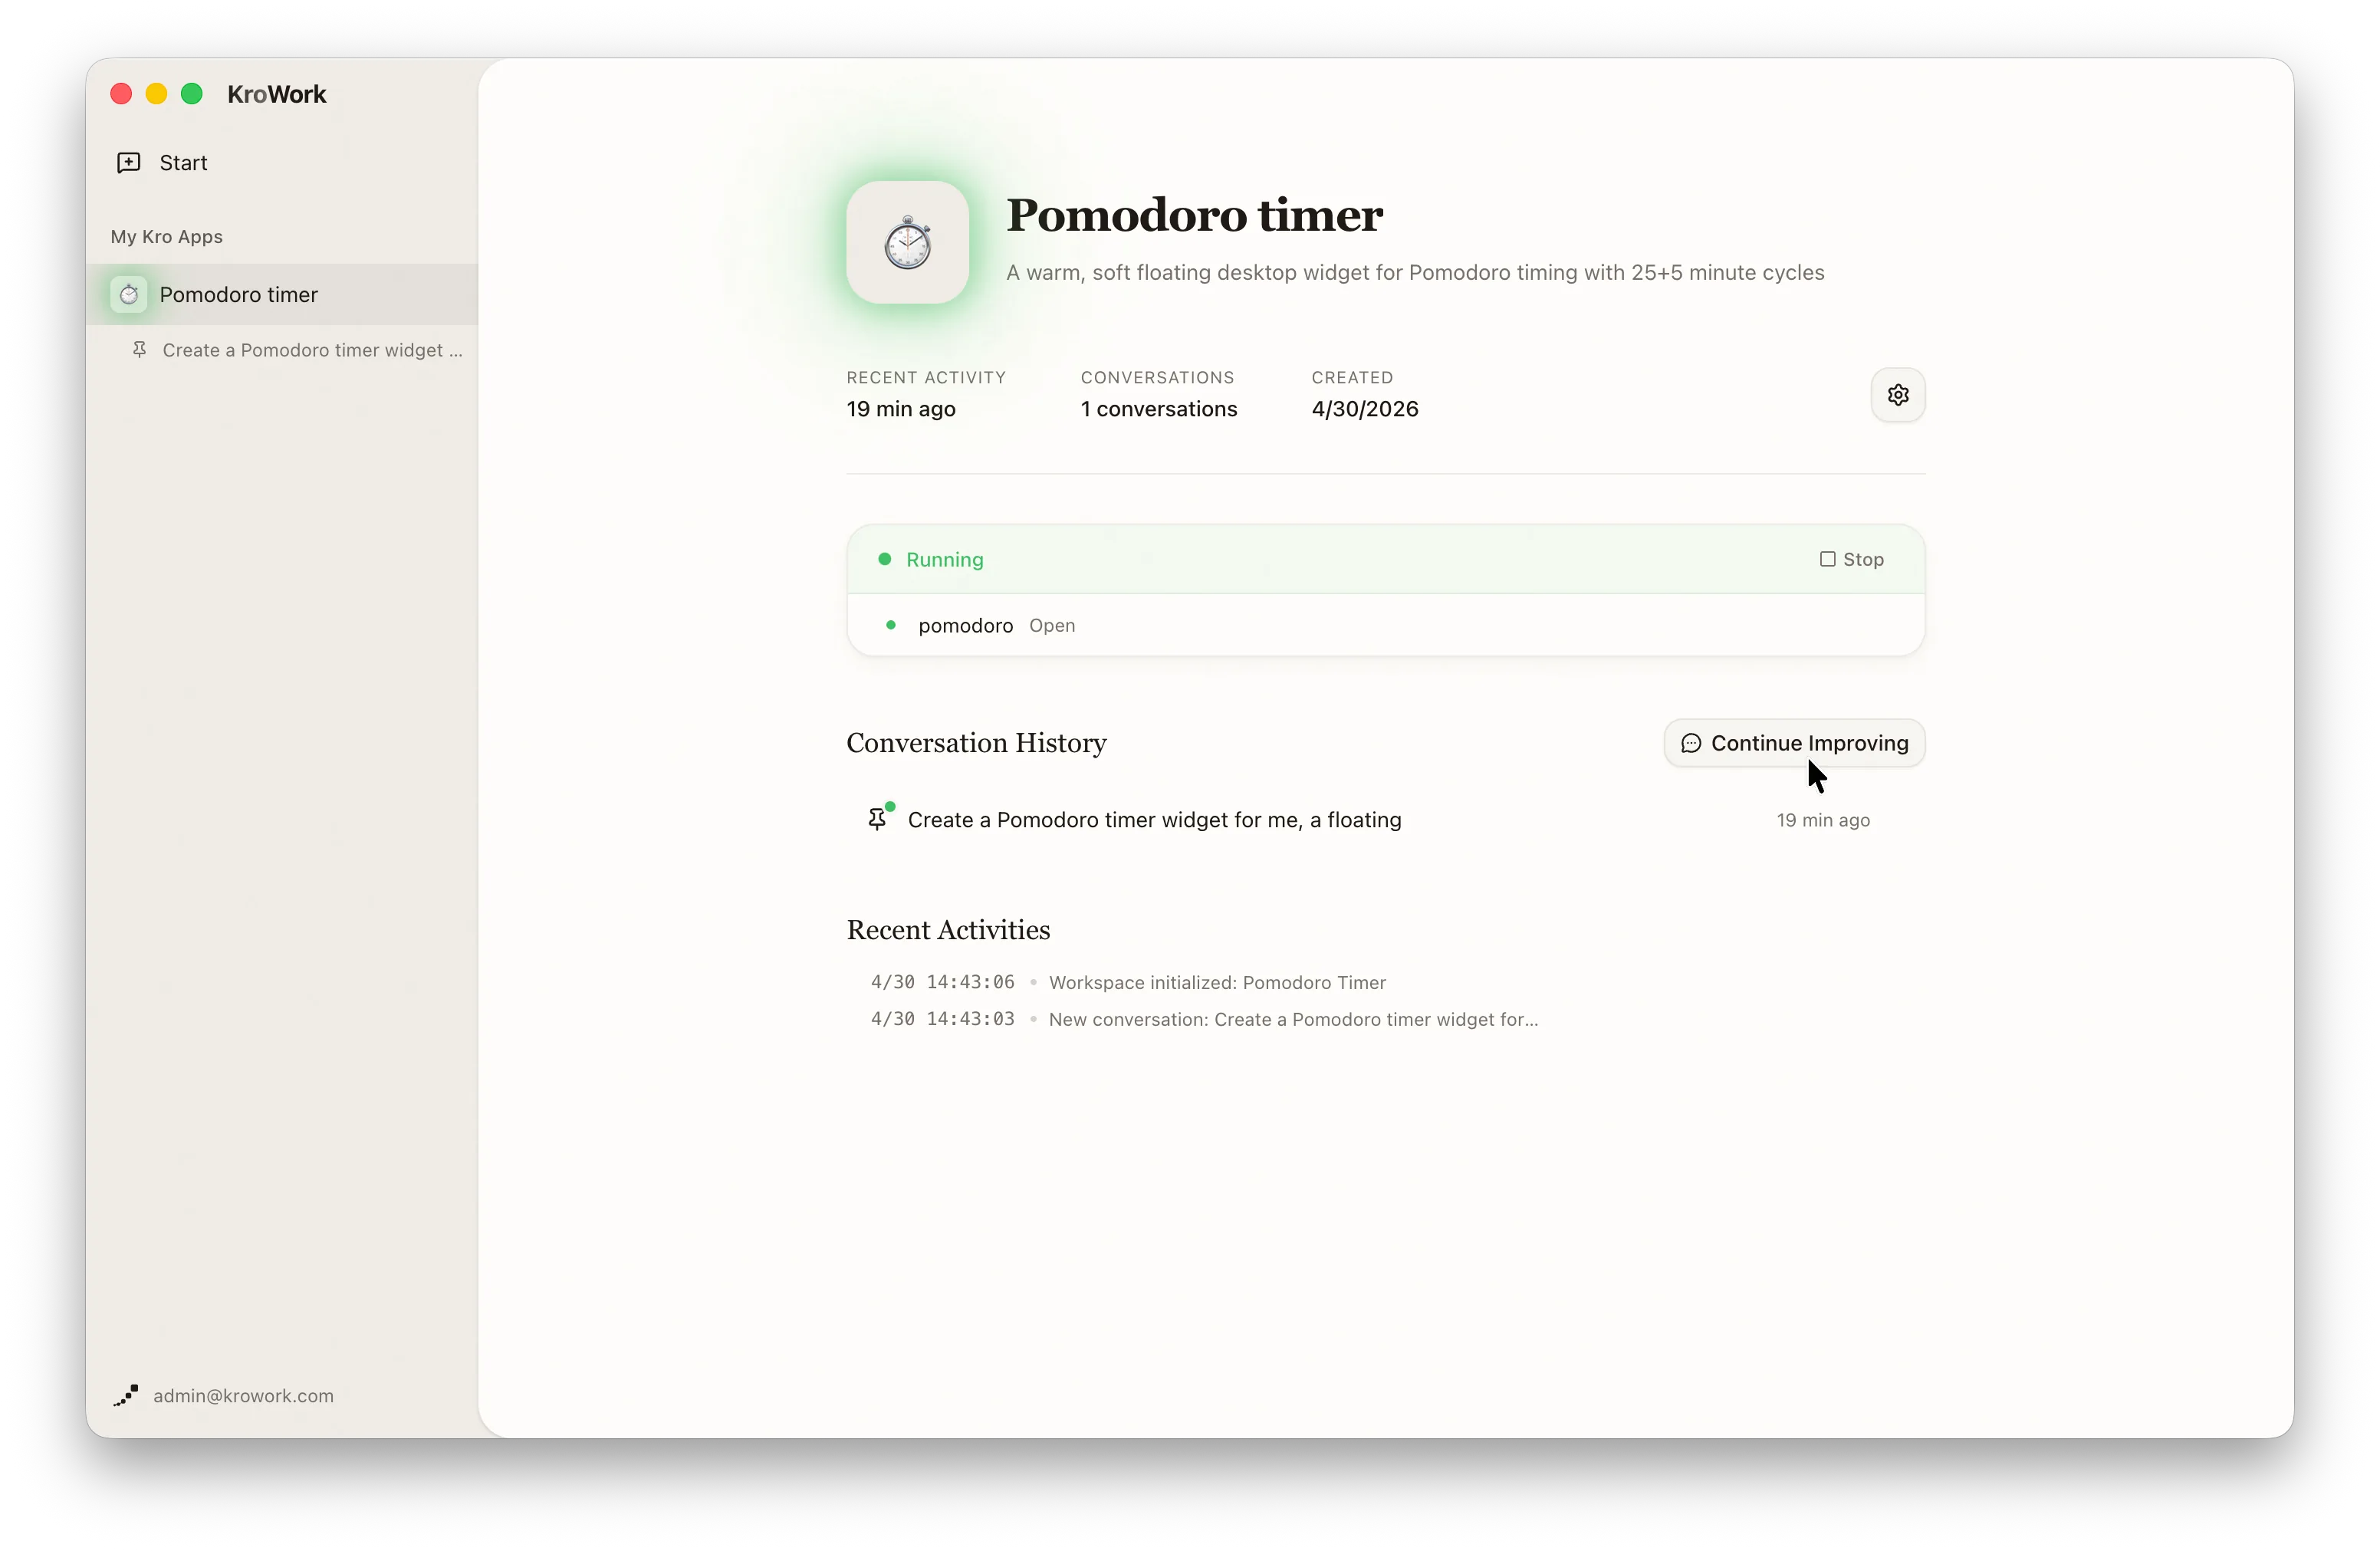
5. Manage My Kro Apps
Once deployed, you can view your apps in two ways:
- Click the KroWork title in the top-left corner to see the list of apps.
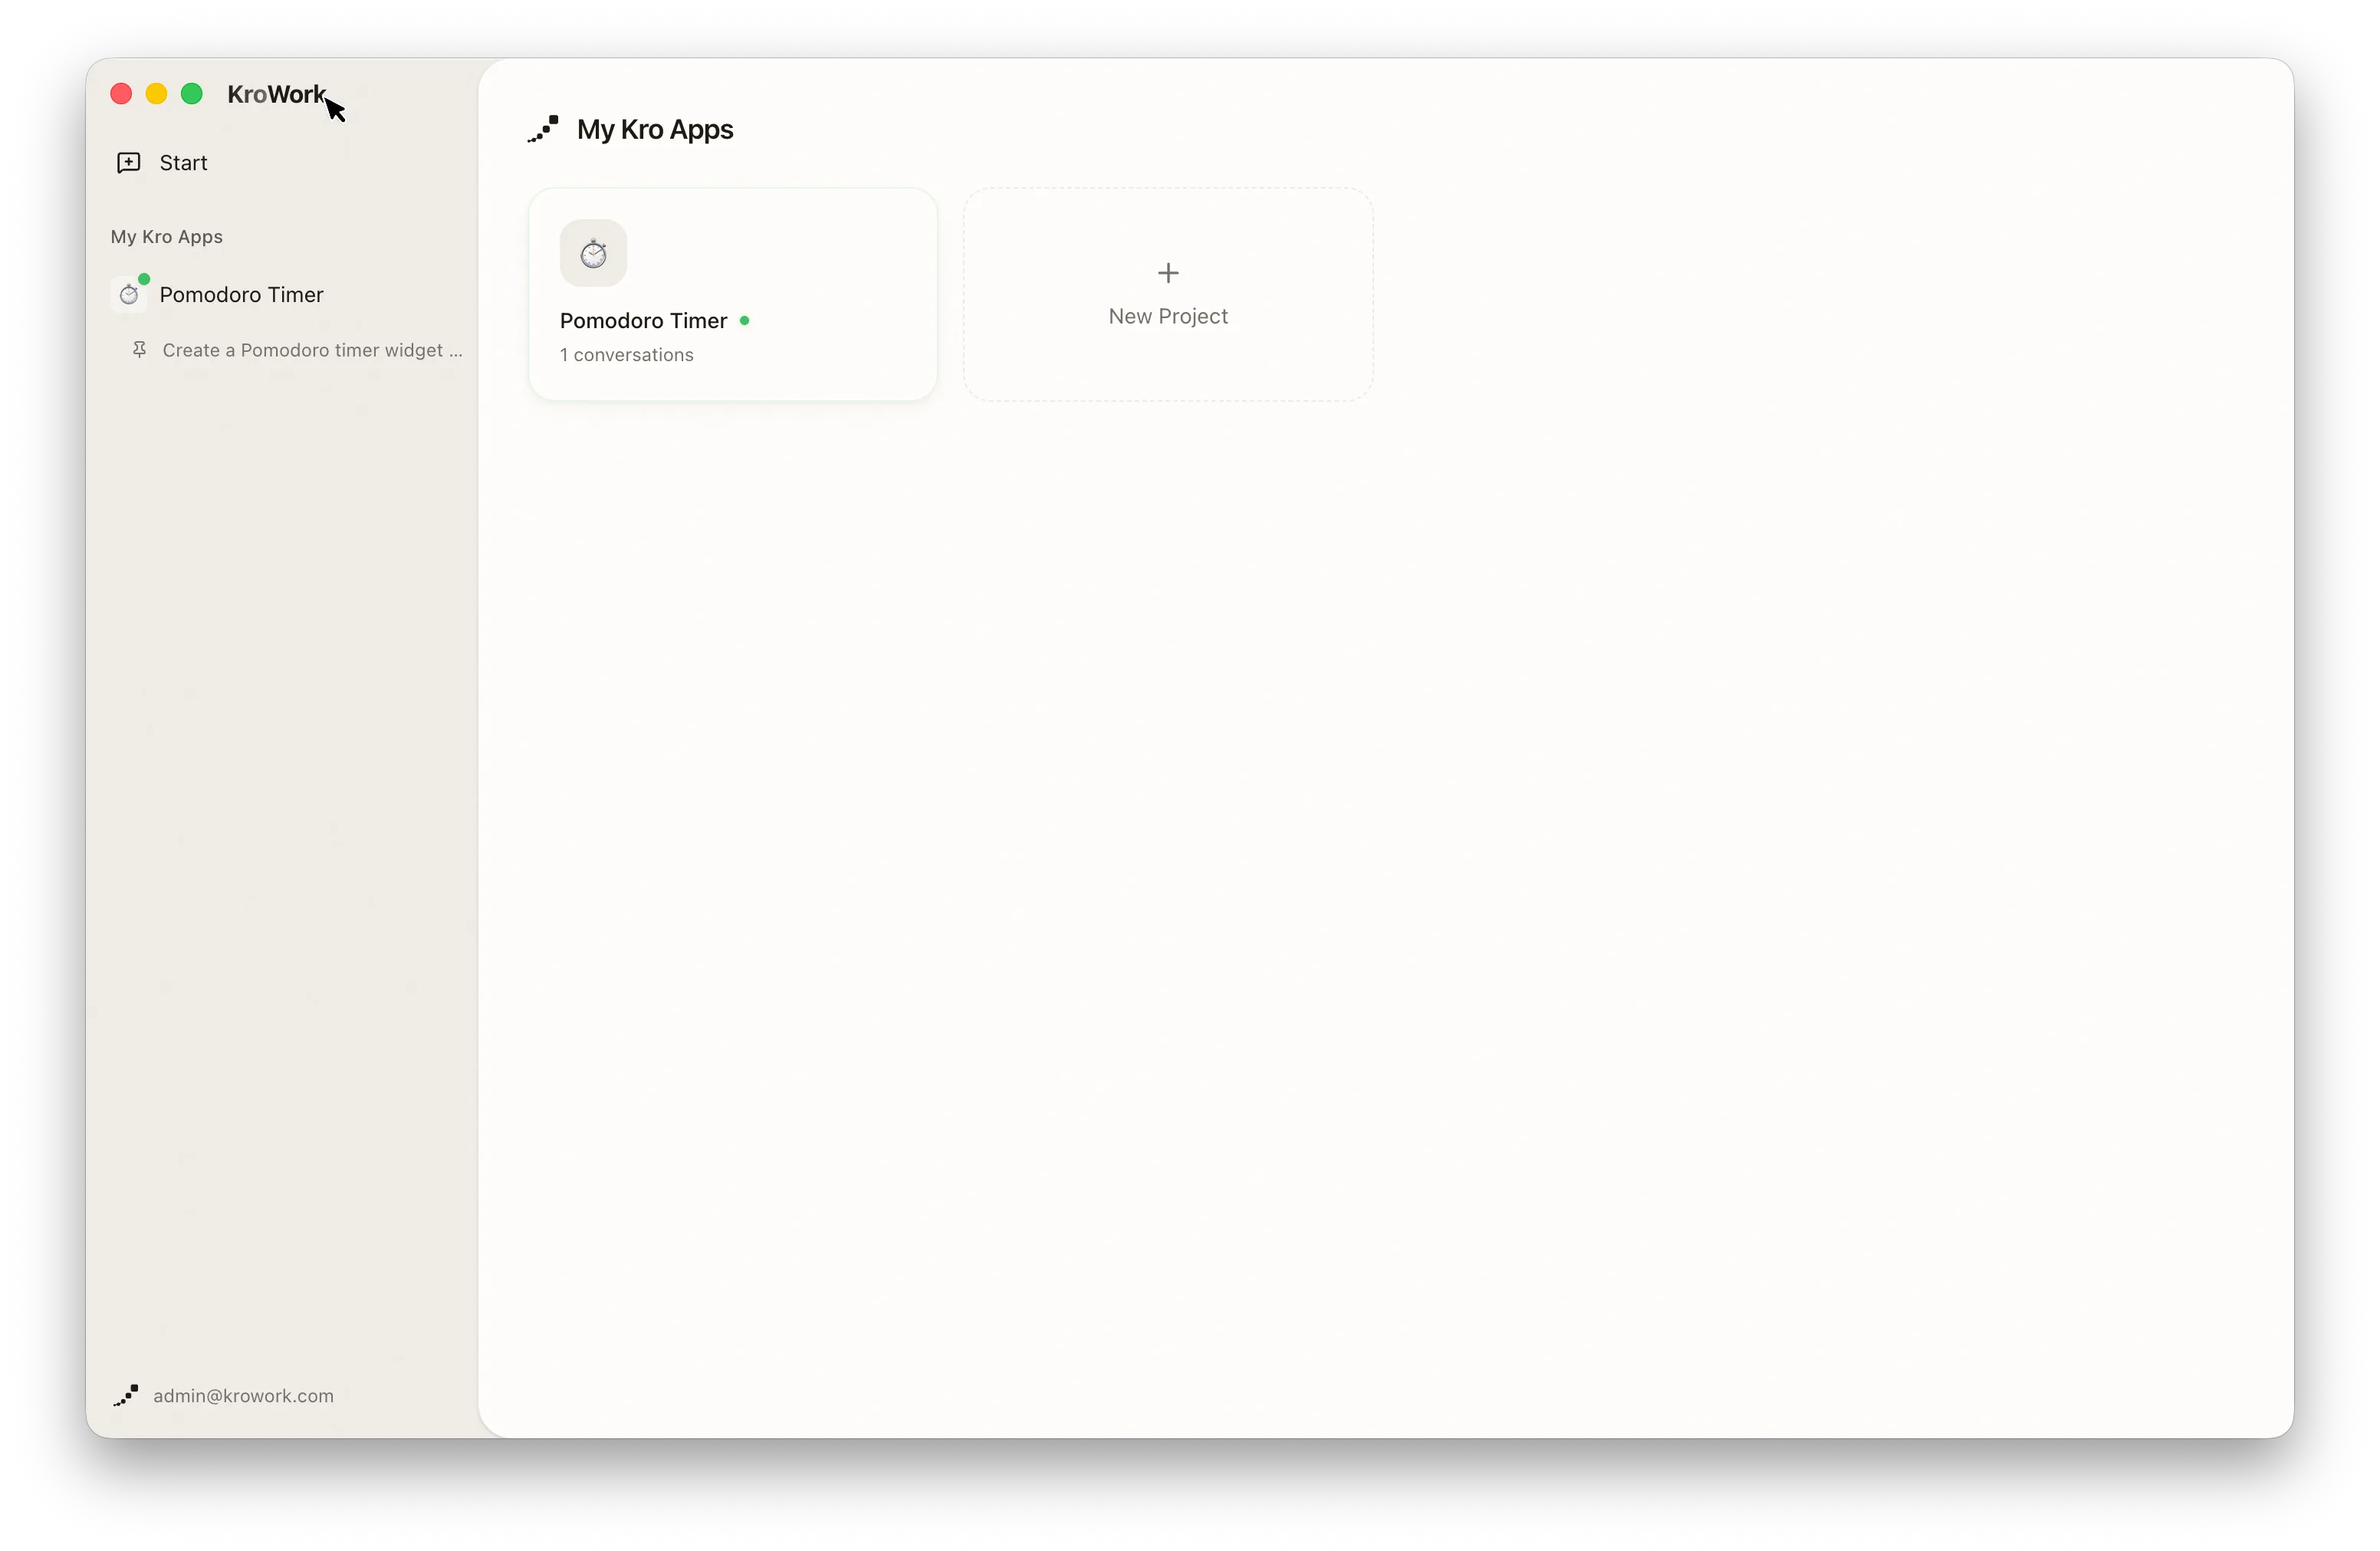
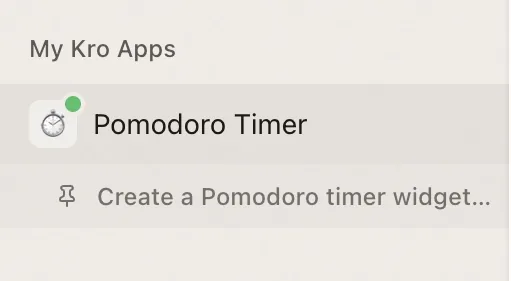
- Access directly via the "My Kro Apps" in the left sidebar.
On each specific app page, you can independently start/stop the app and configure its startup-on-boot status for efficient management.
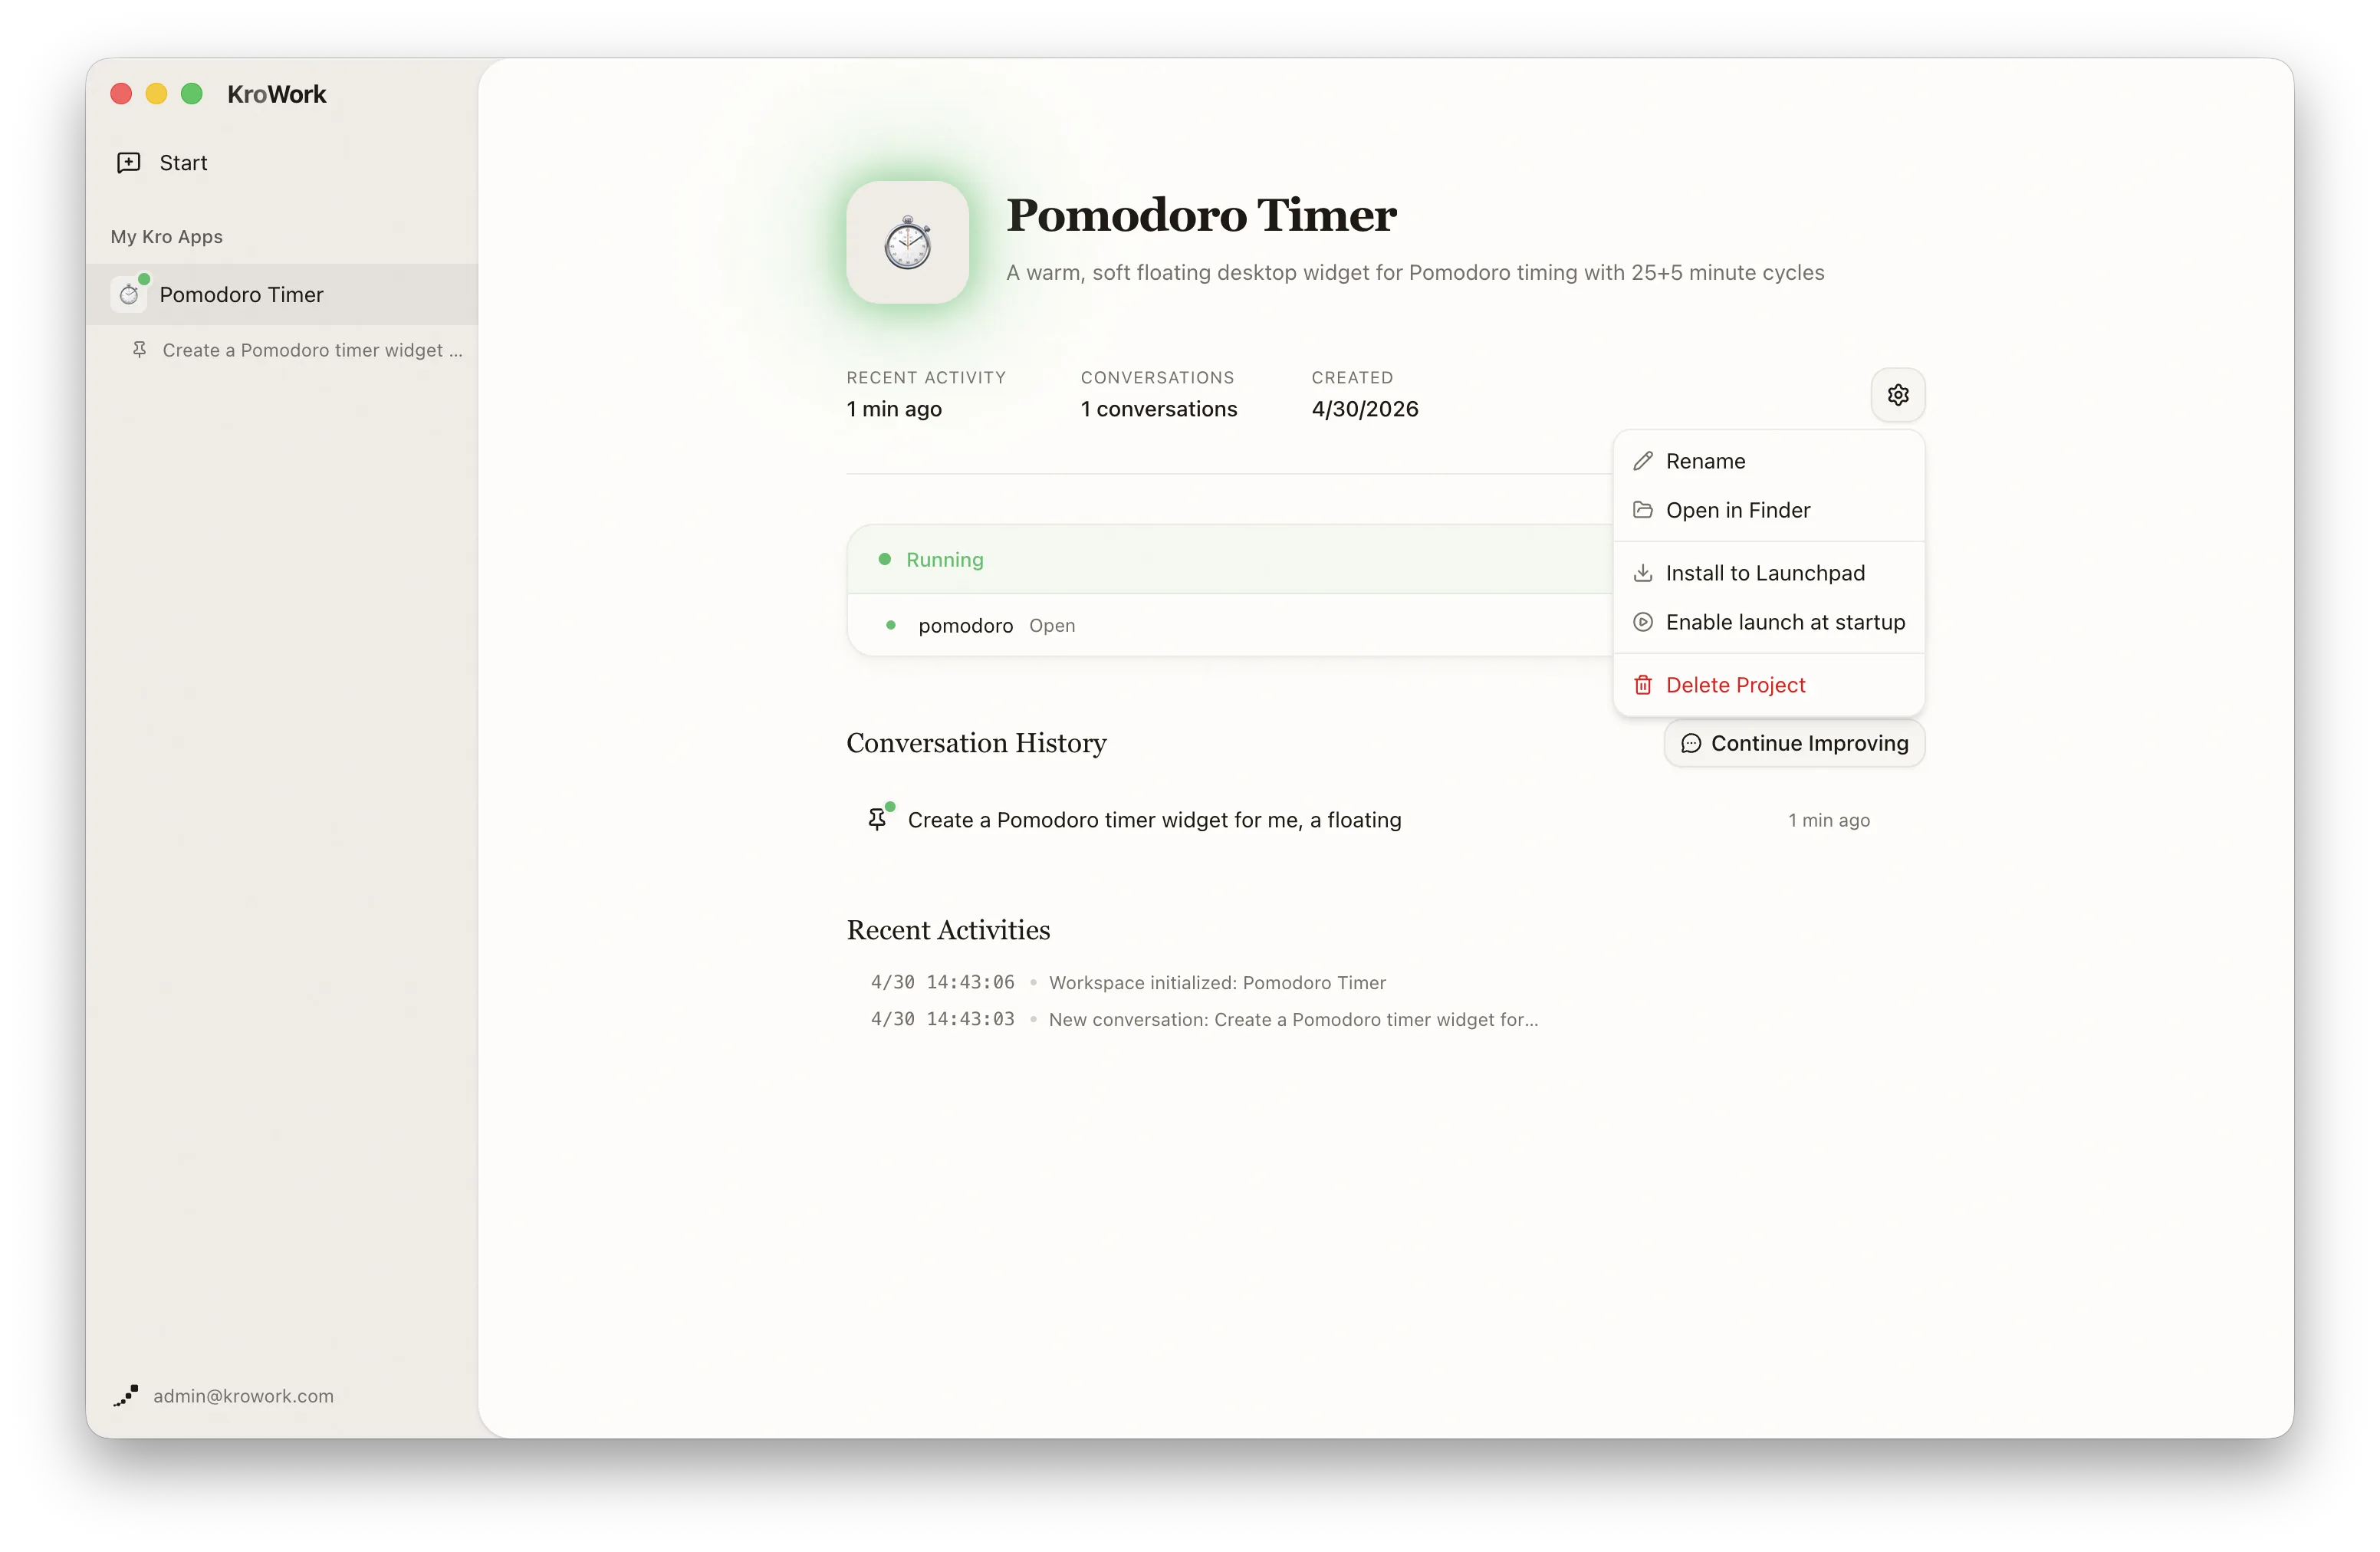
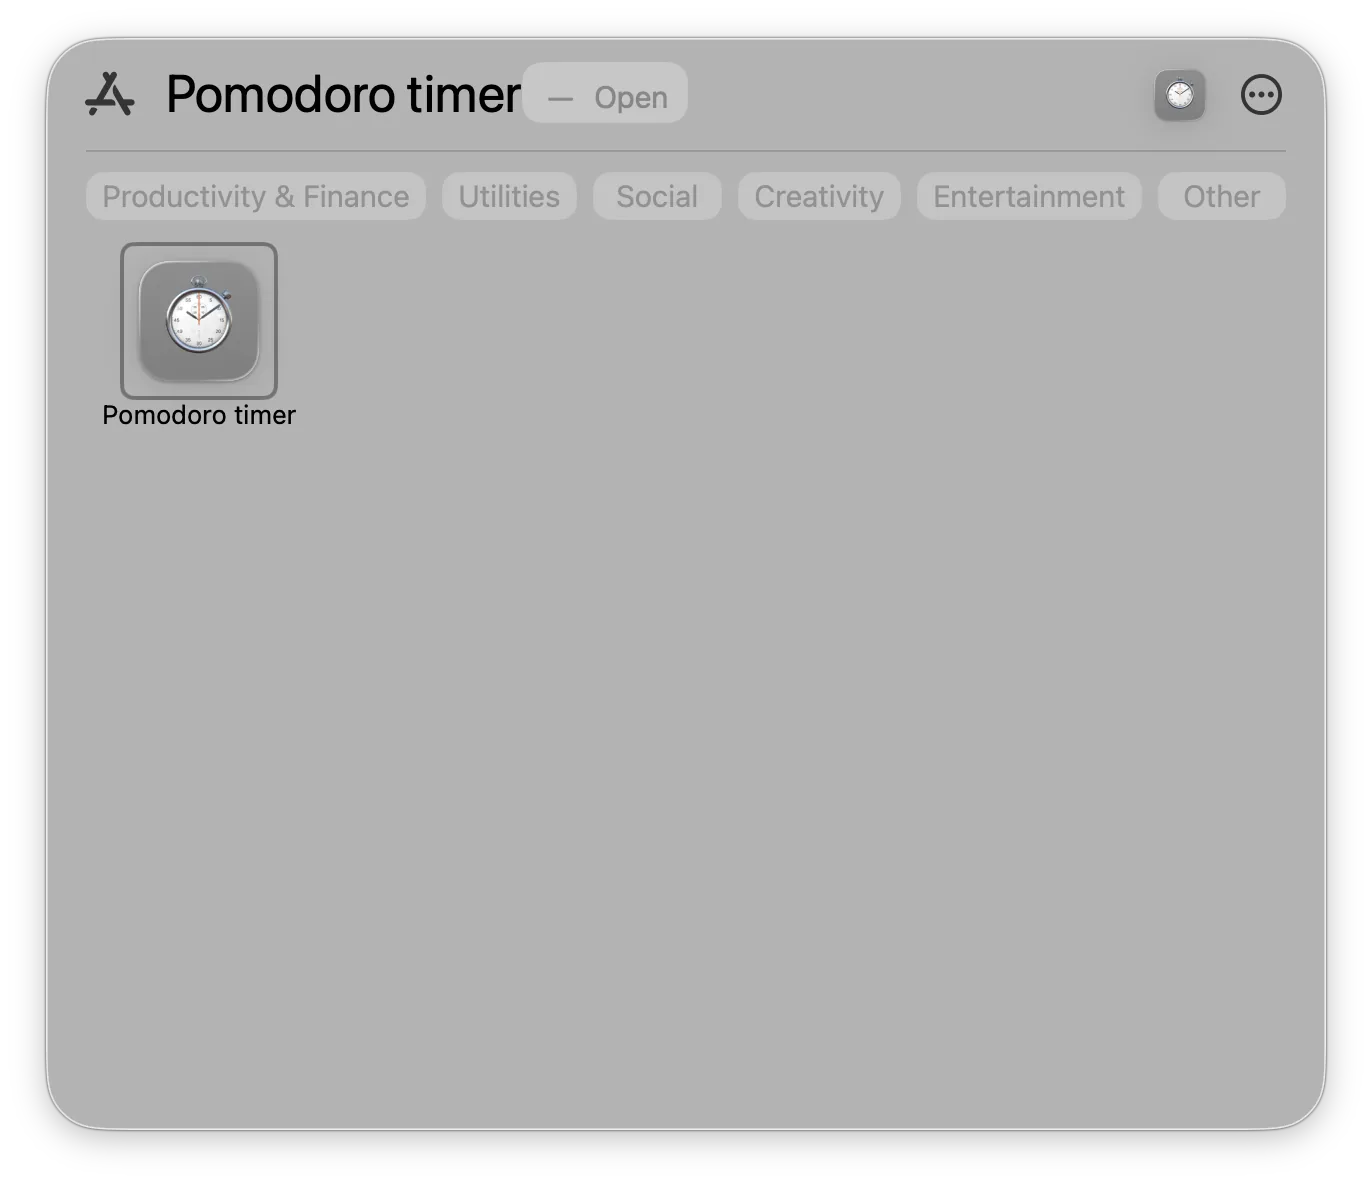
6. Install your Kro App on desktop
Click the gear icon, and choose "Install to Launchpad."
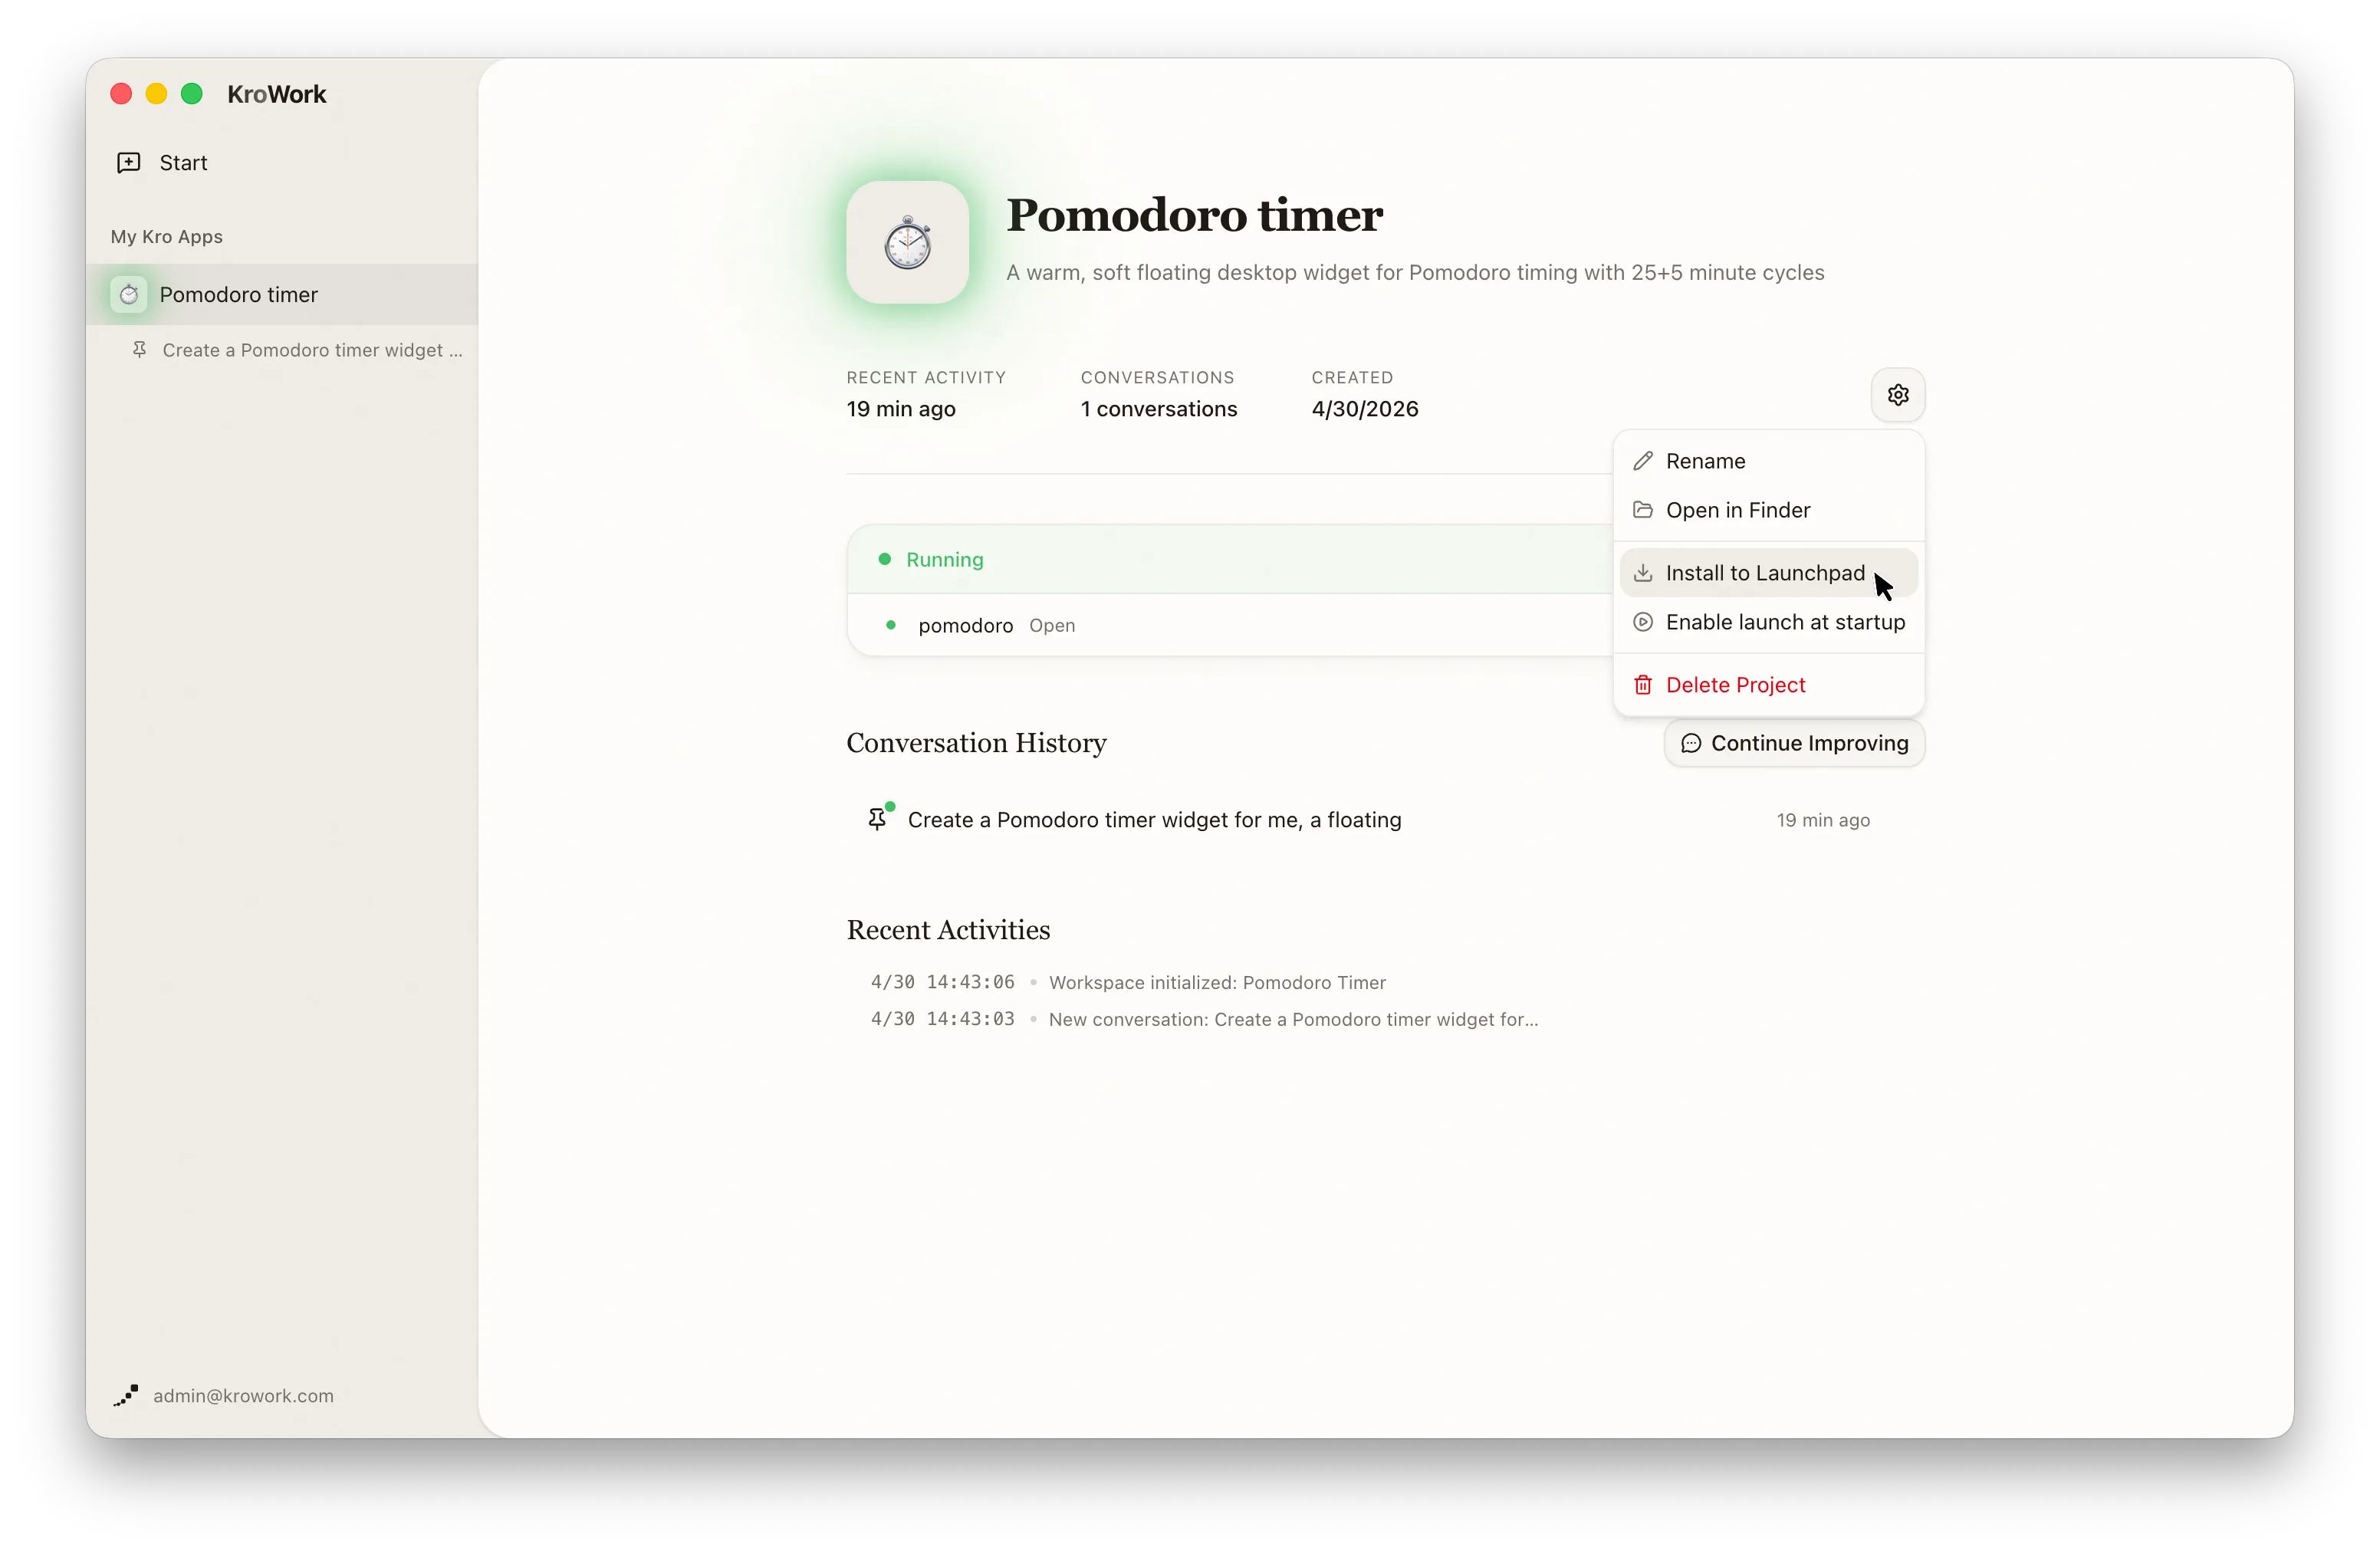
Upon completing authorization, the app will be installed to the macOS Launchpad. You can launch it directly from Launchpad for a more convenient user experience.
Your first KroWork application is now created. You may continue to modify and optimize it through subsequent conversations by clicking "Continue Improving", or create more personalized tools following the same workflow, making KroWork your dedicated productivity assistant.